Supporting materials
Download
Download this article as a PDF


Exoplanets are planets orbiting stars beyond our Sun. Discovering them may answer one of the most asked questions: Are we alone in the universe?
Exoplanets are planetary bodies that orbit a star other than our Sun. By late 2025, scientists had discovered more than 6 000 exoplanets with diverse sizes, compositions, and potential for habitability.[1] Habitability is the keyword when it comes to why scientists are searching for exoplanets. If an exoplanet lies within the habitable zone of its star, it may be suitable for hosting life. The habitable zone, also known as the ‘Goldilocks zone’, is the region around a star in which liquid water could exist and potentially sustain life.[2] A great example of a planet that lies in the habitable zone of its star is our very own Earth! Some exoplanets were found to lie in a habitable zone, you can find more information in the resources.[3,4]
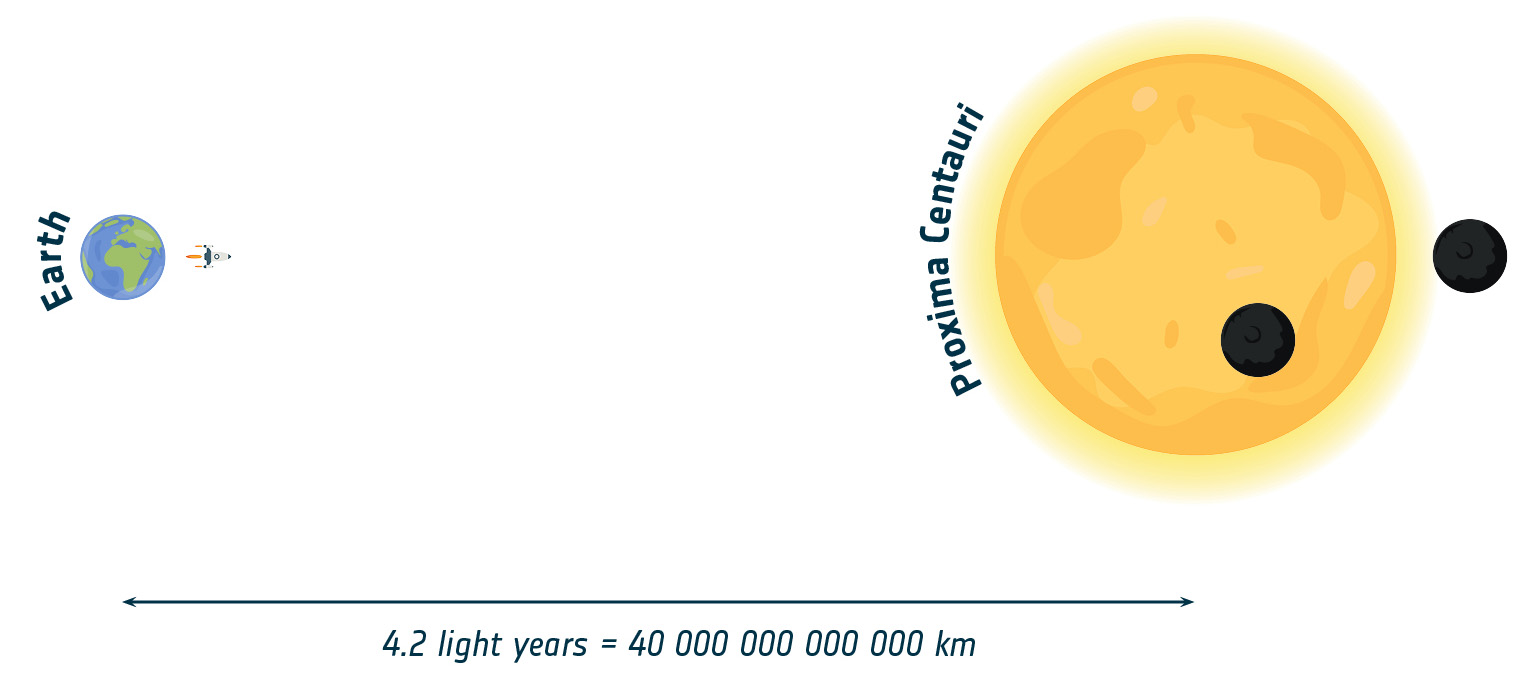
Scientists are very keen on finding Earth-like exoplanets, but finding an exoplanet is not easy. The light reflected from an exoplanet is much dimmer compared to its bigger and brighter host star – it is like searching for a burning match near a lighthouse. Now imagine that the lighthouse and match are 40 000 000 000 000 km away. This is the distance between Earth and the closest known exoplanet Proxima Centauri B and its host star (figure 1). Finding a burning match from such a vast distance may seem impossible, but fortunately, satellites equipped with highly sensitive instruments can detect details far beyond the limits of our human eyes.
The European Space Agency (ESA) has a fleet of these satellites that scour the universe in search for exoplanets, such as the Cheops satellite launched in 2019. The fleet is ever-growing, with upcoming launches of Plato and Ariel expected in 2026 and 2029 respectively.[5] There is no single perfect way to detect an exoplanet. ESA’s exoplanet satellites use a variety of methods to detect and characterise them.[6]
In this hands-on activity, students will use the ‘transit method’ to detect exoplanets orbiting around their own modelled star. When an exoplanet passes in front of (i.e. transits) its host star, it causes a dip in starlight observed by the satellite (figure 2). By measuring the depth of the dip and the interval between dips, one can discover more about the exoplanet’s characteristics, such as its size and distance to the host star.
This activity is aimed at students aged 14–19 years old, but can be adapted to fit younger audiences as well. In this activity, students learn to…
In Activity 1, students are introduced to the characteristics of exoplanets, how they differ from stars, and why they are difficult to detect. This activity may be conducted as a classroom discussion, a group discussion, or individually.
The entire teaching resource, created by ESA, can also be found in this downloadable teacher guide. For added clarity, the worksheets have also been linked separately here on the Science in School page.
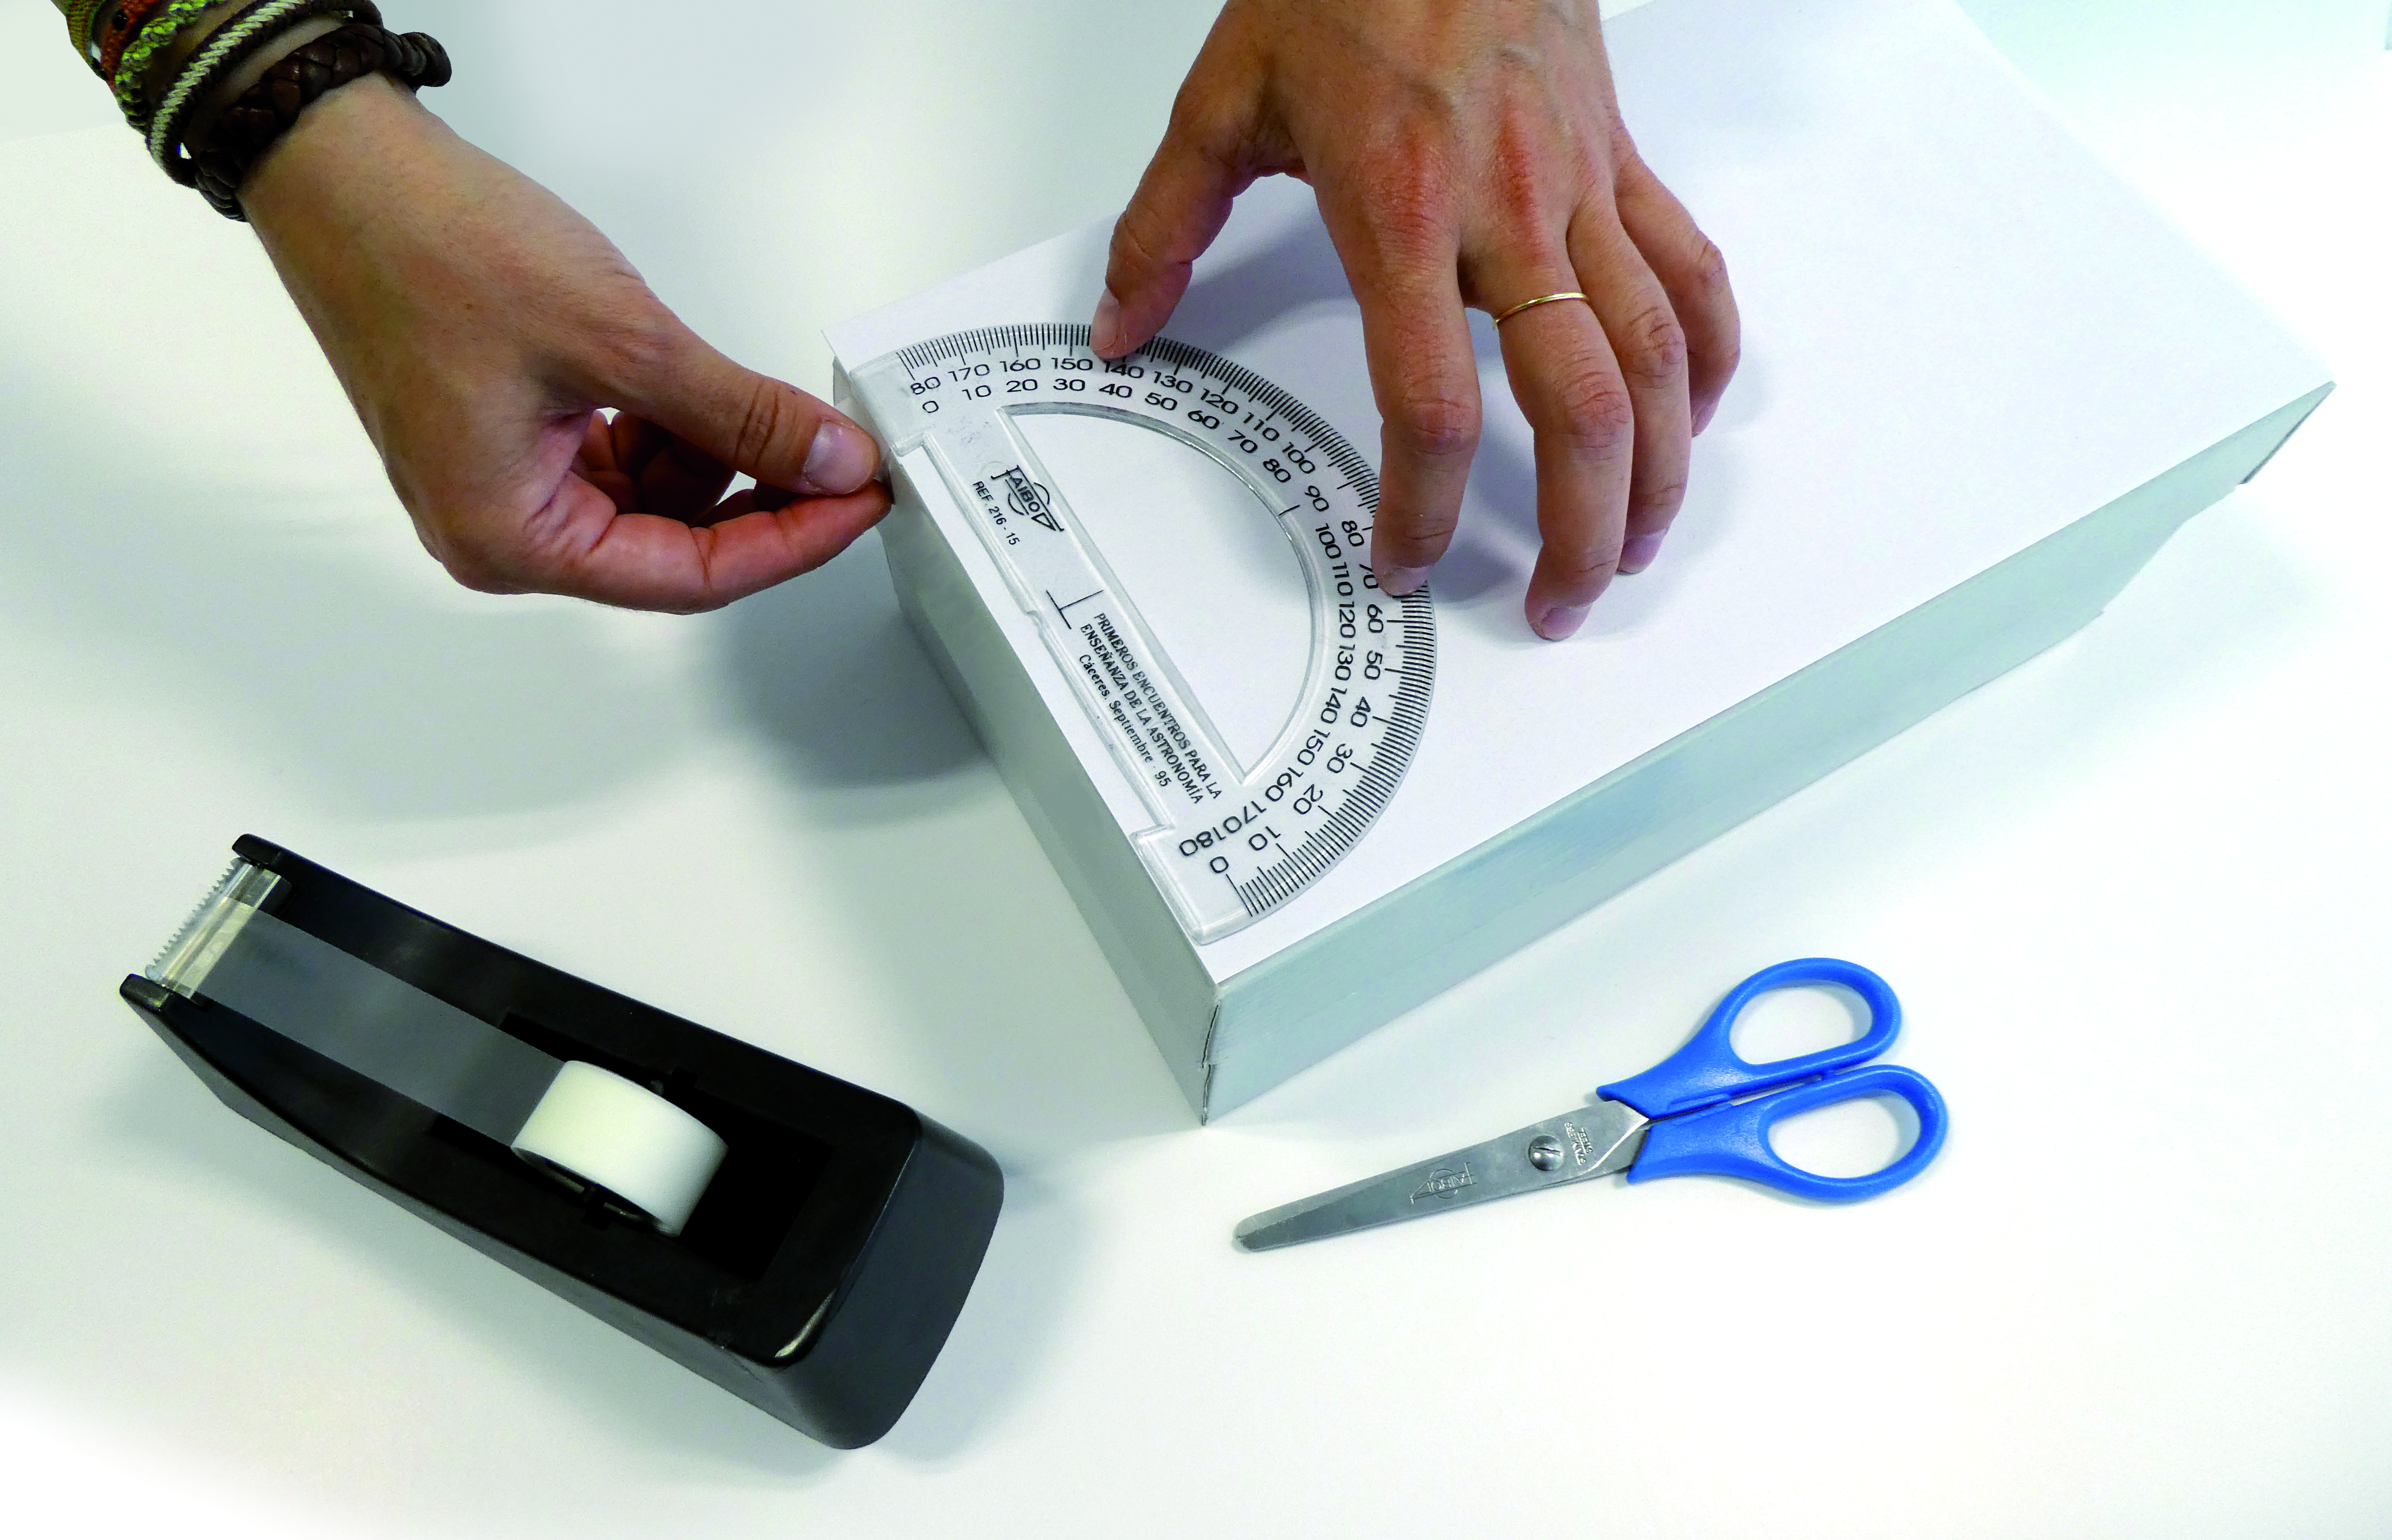
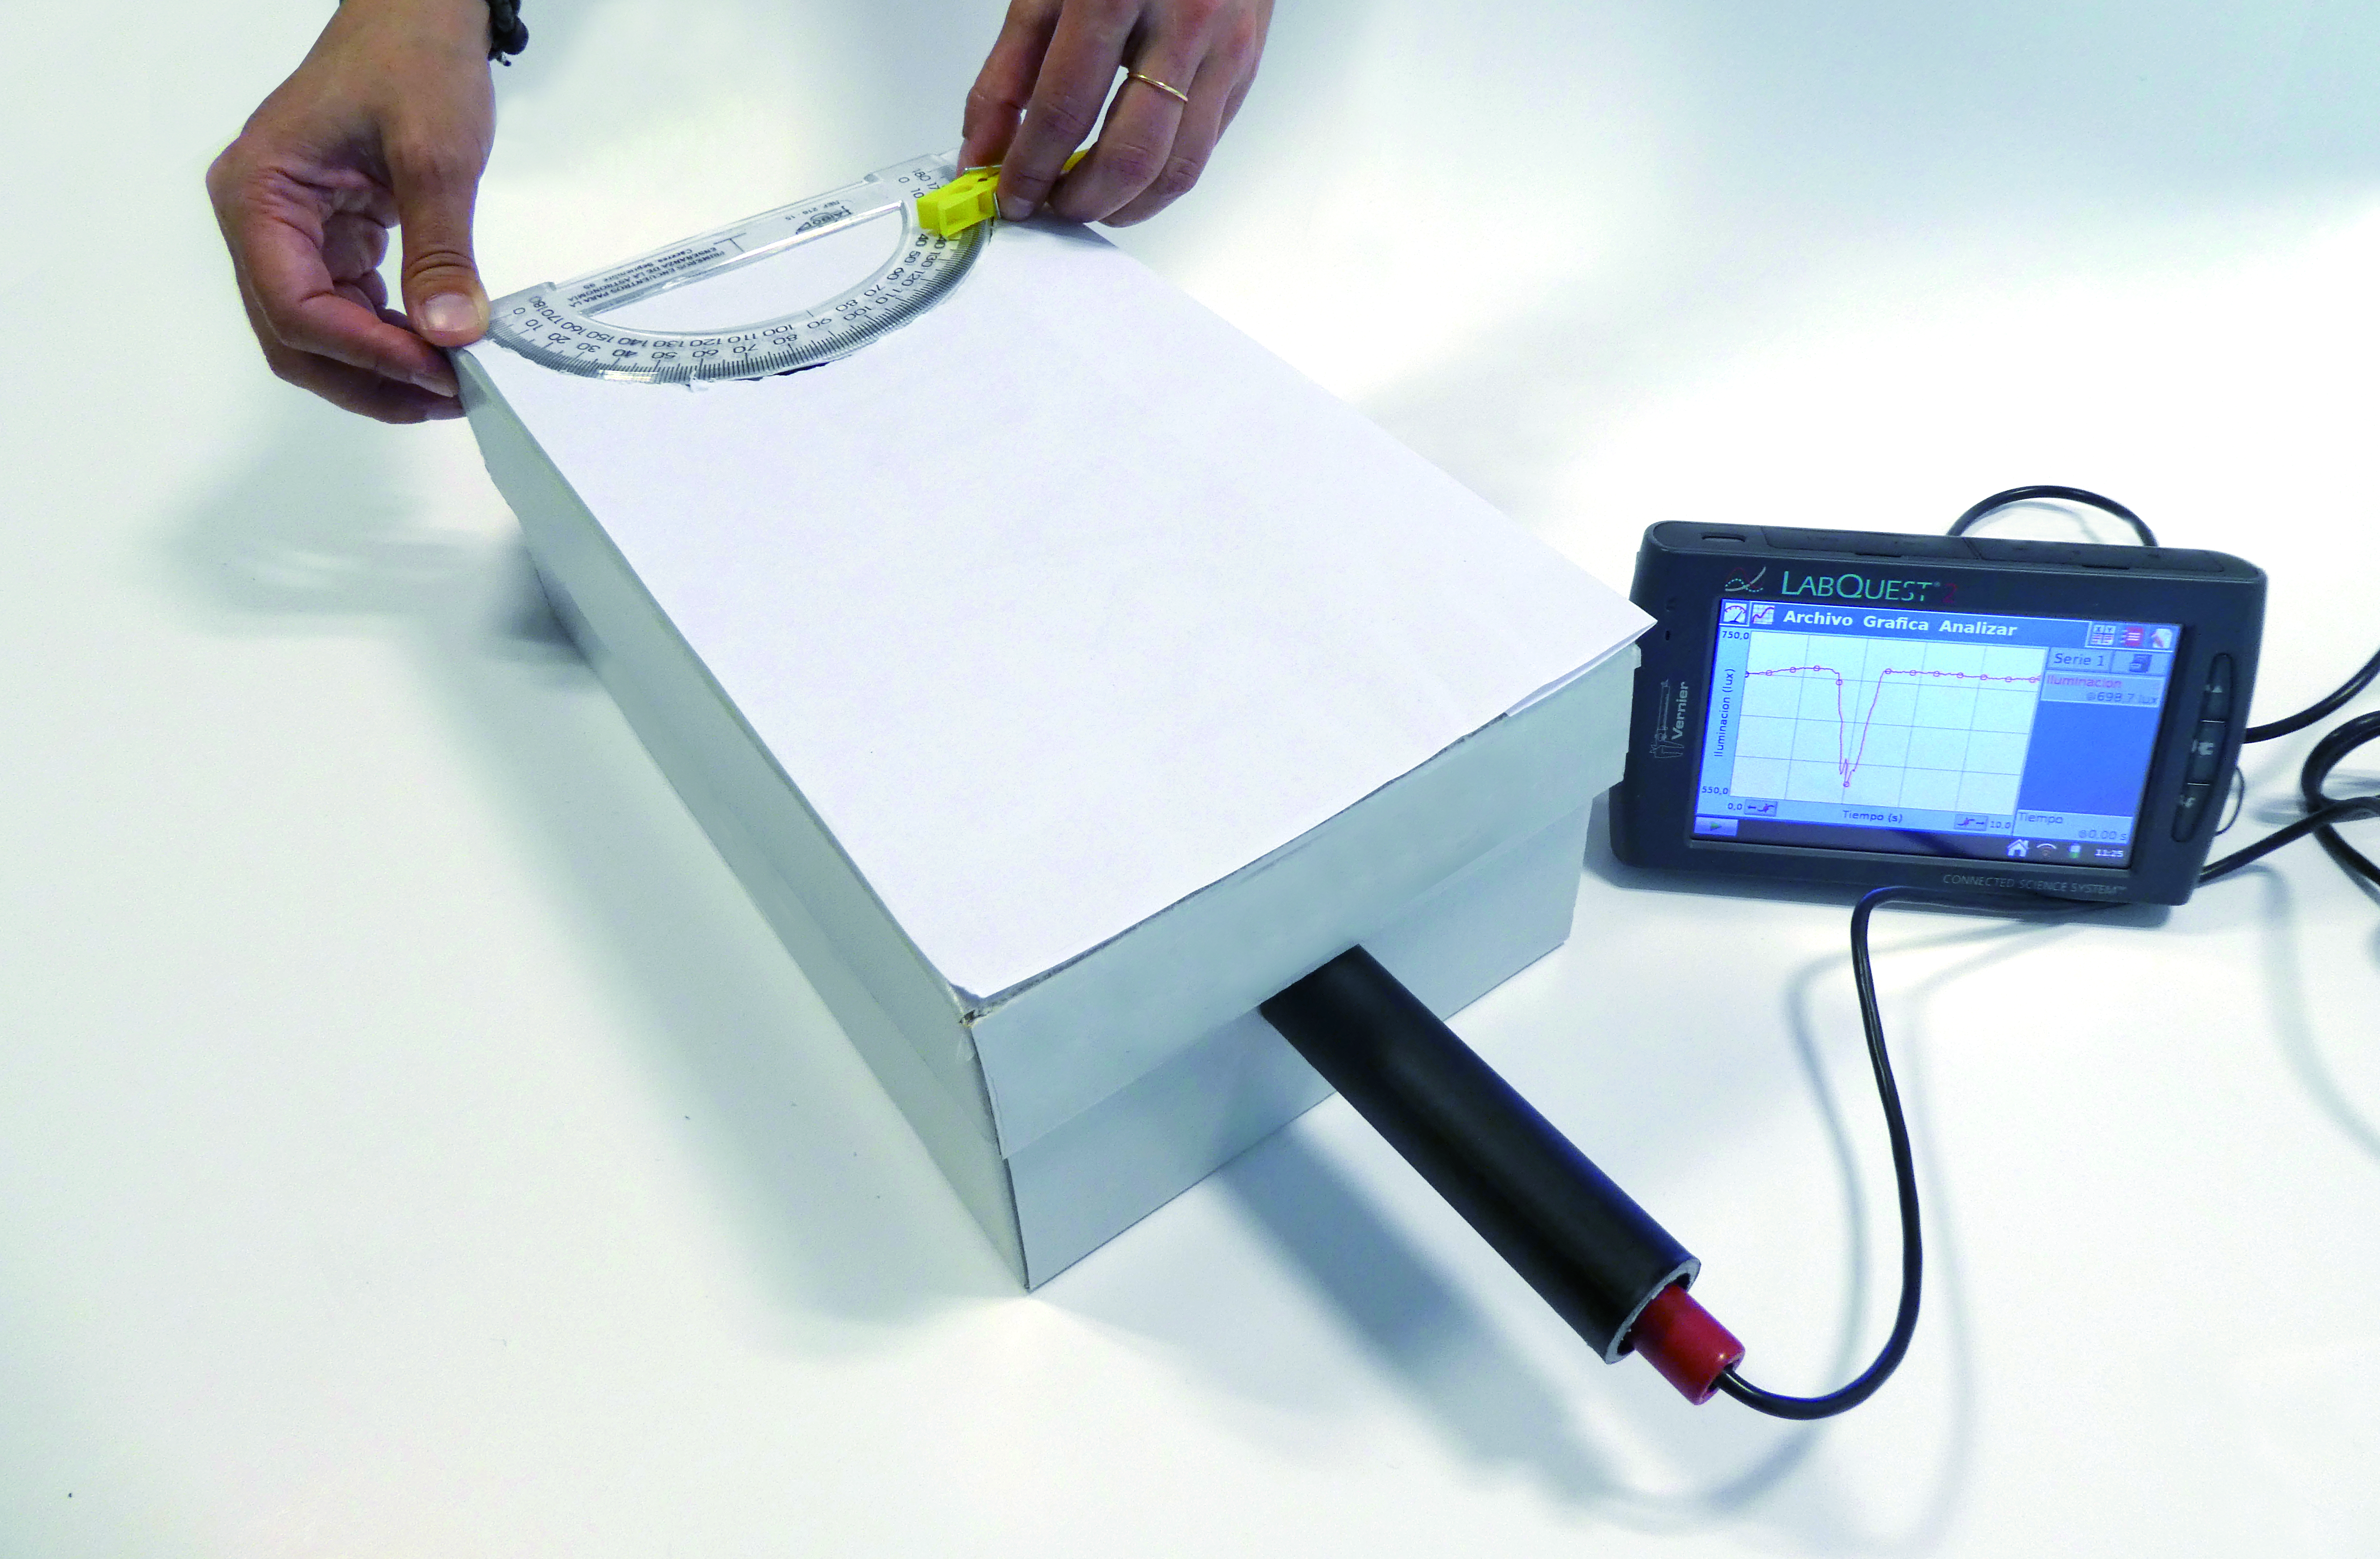
In Activity 2, students build their own physical model of exoplanets transiting in front of their host star in a box. Using the transit method, students will measure the dip in light observed when an exoplanet passes in front of a light source, and learn how to interpret the resulting graphs. It is recommended that students work in groups of 3–4.
The construction of the box involves the use of sharp tools.
After presenting their plan, the materials can be distributed, and the students can start building.
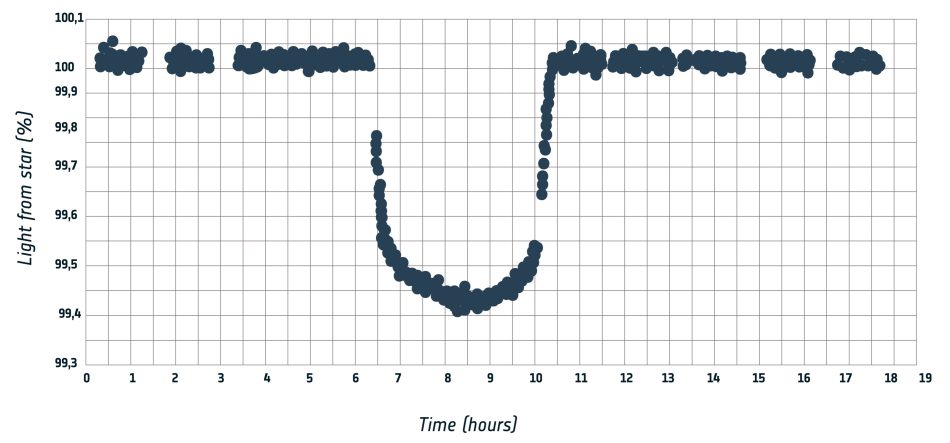
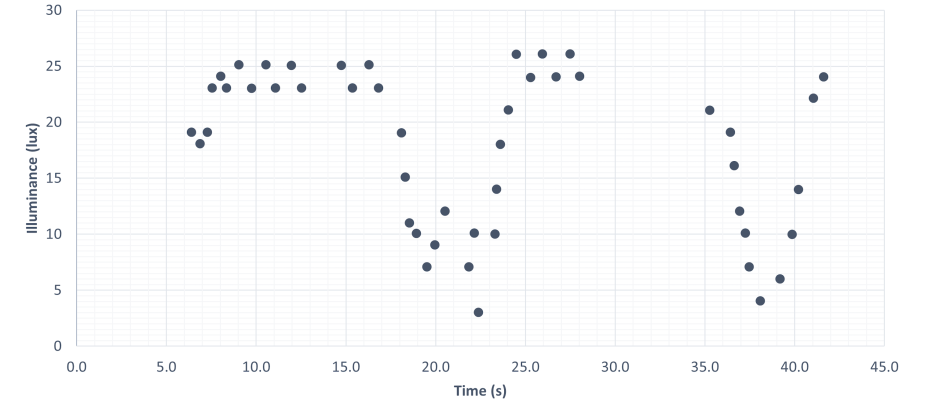
In Activity 3, students perform a starlight analysis of exoplanet transits by moving clay exoplanet models of different sizes in front of the light source and measuring the change in illuminance. An example of a transit light curve measured by a real satellite (Cheops) of the exoplanet WASP-189b is shown in figure 5.
Procedure
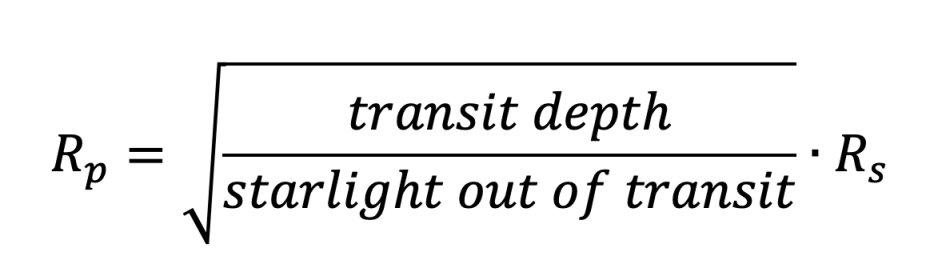
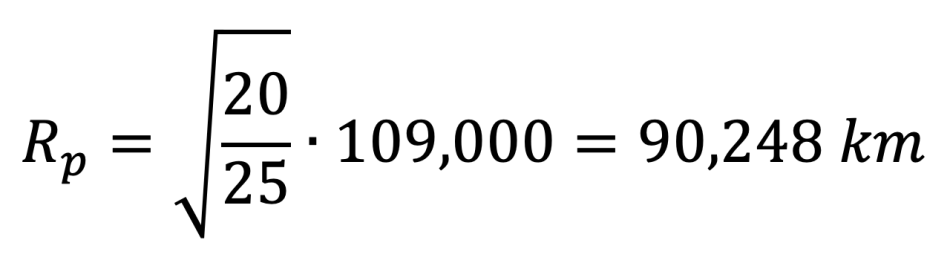
In Activity 4, students calculate the size of one of their clay exoplanet models as if it was orbiting Proxima Centauri – the star closest to our Sun – as shown in figure 1. During transit, the dip in the observed light curve is a measure of the fraction of the star’s circular disc that is covered by the exoplanet’s circular disc, as described by the following equation:

Where Rp is the radius of the exoplanet and Rs the radius of the star.
Entering the values in the rearranged equation gives:
In this set of activities, students learned how exoplanets can be detected through the transit model. By designing a physical model, the students gained experience with experimentation and a deeper understanding of the relationship between the transit depth and exoplanet radius. To conclude with the students, it is useful for them to think about the limitations of the model they have constructed. Examples of limitations can be found in the conclusions of the teacher guide.
Interested in teaching more about exoplanets with physics and mathematics? The Hack an Exoplanet website offers a full collection of educational activities and resources on exoplanets developed by the ESA Education Office. Have a look at:
The Exoplanet in a Box activity was produced in collaboration with several European Space Education Resource Offices (ESERO). The original concept was developed for ESA by the National Space Academy (UK).
We would like to extend our gratitude to ESA’s Directorate of Science and their exoplanet scientists for supporting the ESA Education Office’s exoplanet educational activities. Their willingness to share real satellite data with students and contribute with expert knowledge has been invaluable.
[1] NASA Exoplanet Archive: https://exoplanetarchive.ipac.caltech.edu/
[2] Habitable zone: https://esahubble.org/wordbank/habitable-zone/
[3] European Space Agency (2023) Hubble helps discover a new type of planet largely composed of water. Science in School 61.
[4] Tatalović M (2020) Alien life and where to find it. Science in School 50.
[5] ESA’s exoplanet missions: https://www.esa.int/Science_Exploration/Space_Science/Exoplanets/ESA_s_exoplanet_missions
[6] Vieser W (2020) Hunting for Exoplanets. Science in School 49.
[7] The atoms that make us: https://www.esa.int/Science_Exploration/Space_Science/Integral/The_atoms_that_make_us
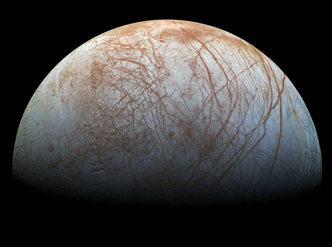
As space missions venture to the moons of Jupiter and Saturn – and beyond – to look for the conditions for life, what alien life forms might be…


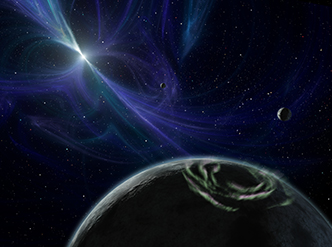
The possibility of worlds beyond our own has fascinated people for millennia. Now technology is bringing these other worlds – or exoplanets –…


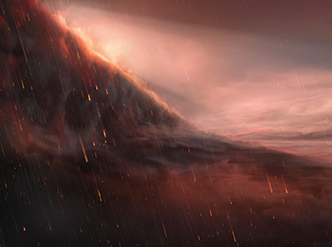
Ever wondered what the weather is like on planets outside our solar system? Scientists have recently discovered an exoplanet where it rains…