It’s a small world: using microscopy to link science, technology, and art
Great and small: use this photomicroscopy project to explore the way structure relates to function and the links between science and…

Not sure how best to source and create images for sharing your teaching materials? It’s a snap if you follow these simple tips!
One of the joys of acting as Executive Editor for Science in School has been meeting all the fantastically engaged STEM teachers who are continually coming up with novel and creative teaching ideas for inspiring their students. It’s been a privilege to help some of them share these ideas with the wider STEM teaching community through publication in Science in School, but there are of course other avenues for sharing teaching ideas, from conferences and festivals to blogs and websites to social media and video platforms. Whatever the platform used, in STEM teaching, as in STEM research, images can be invaluable in communicating and explaining ideas; as the adage goes, “a picture is worth a thousand words”. In this article, I’d like to share some tips and lessons learned from the editorial process to help teachers make the most of images in posts, articles, presentations, and posters.
Before considering where or how to obtain images, it’s important to first ask why. What are we trying to communicate? There are many possible functions for an image in an article, poster, or presentation, and these may come with different priorities. Images may be used to capture the audience’s interest or to provide an engaging visual example, and in this case, they need to be really visually appealing. Conversely, clarity is key for images intended to convey information, such as a scientific concept or experimental setup. Determining the purpose of the image will allow you to choose the most appropriate image type and source.
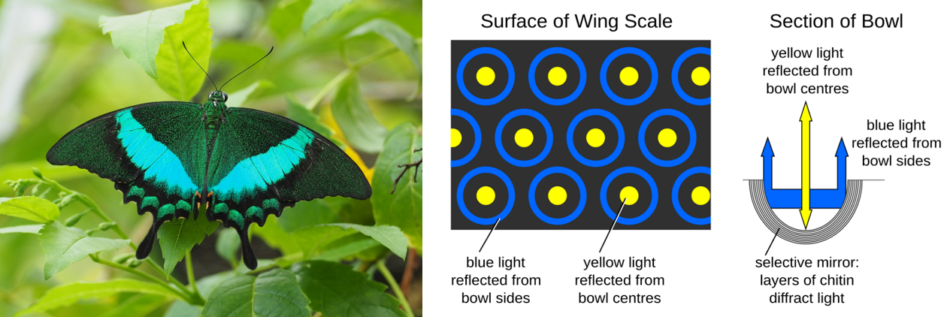
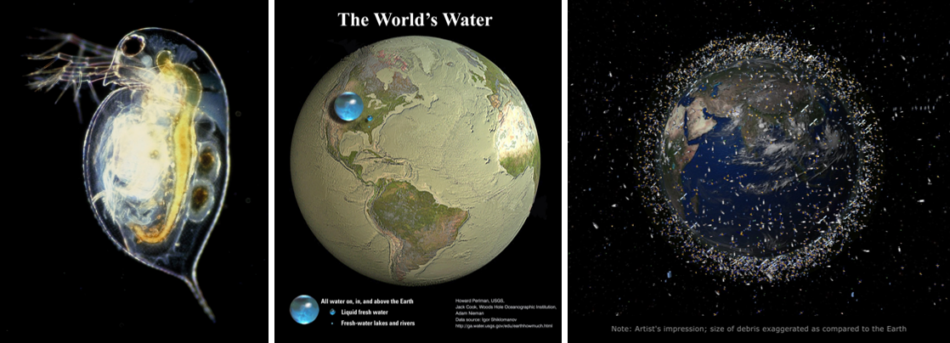
When looking for images to illustrate a teaching concept, many people first think to look for images online. The internet is indeed a source of very useful images, especially technical schemes, artists’ impressions to illustrate relationships or scale, and beautiful photographs. However, some care is required to avoid falling foul of copyright law.
The first thing to know is that an image doesn’t need a copyright symbol on it to be protected by copyright. Creative works are automatically protected and copyright belongs to the creator unless otherwise stated. This means that you can’t just run an image search and use any image you find in your own articles, presentations, or posters. Images without any licence information listed are typically copyrighted and may not be used without permission from the owner or purchasing a licence for their use. So, what images can legally be used for free?
There are two main categories of images that can be legally used: those in the public domain and those under a Creative Commons licence. I will briefly explain these and the rules for their use below, but copyright law can be quite complex and the following does not constitute legal advice; please check if you aren’t sure.
Images in the public domain can be used without restrictions. They include images where copyright has expired and are typically indicated by the note “public domain” or the following symbols:

A variation is the “no rights reserved” or CCO licence, which indicates that a copyright owner has chosen to waive their copyright and related rights. Note that the length of time that copyright holds for different types of work varies by country,[3] so it is possible for a work to be in the public domain in one country but under copyright in another.
Works published under Creative Commons Attribution (CC-BY) licences[4] can be used and adapted for any purpose with attribution, that is you must clearly acknowledge the creator and/or owner. These may also be indicated with the following symbols:

There are also variations of Creative Commons licences,[5] like NoDerivatives (CC BY-ND), ShareAlike (CC BY-SA), and NonCommercial (CC BY-NC), which place additional restrictions on how you can use the work. However, ”commercial” for CC BY-NC is not well defined; for example, you don’t necessarily need to be selling anything or making a profit to be seen as falling under commercial use.[6-7] For this reason, I prefer to stay on the safe side and avoid CC BY-NC licences if possible.
There is a concept of ‘fair use’ for educational purposes, but this is not the blanket permission to use copyrighted work in education that many people think. Fair-use laws and educational exceptions are actually quite complex, often poorly defined, and can vary from country to country, even within the EU.[8-10] To be safe, I’d recommend just not using copyrighted images (without permission).
There are a number of places where you can conveniently find Creative Commons images. These include:
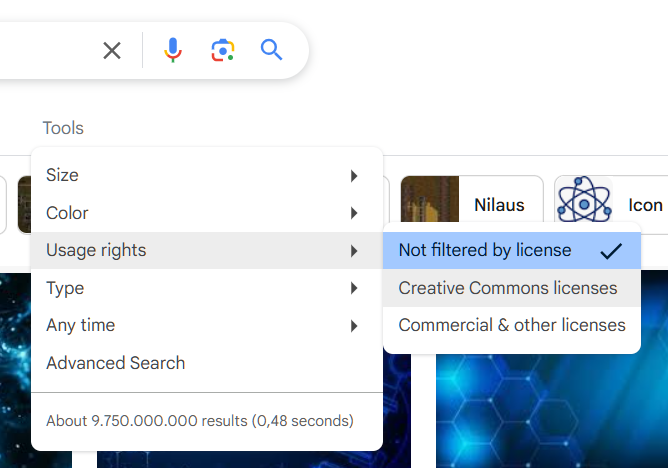
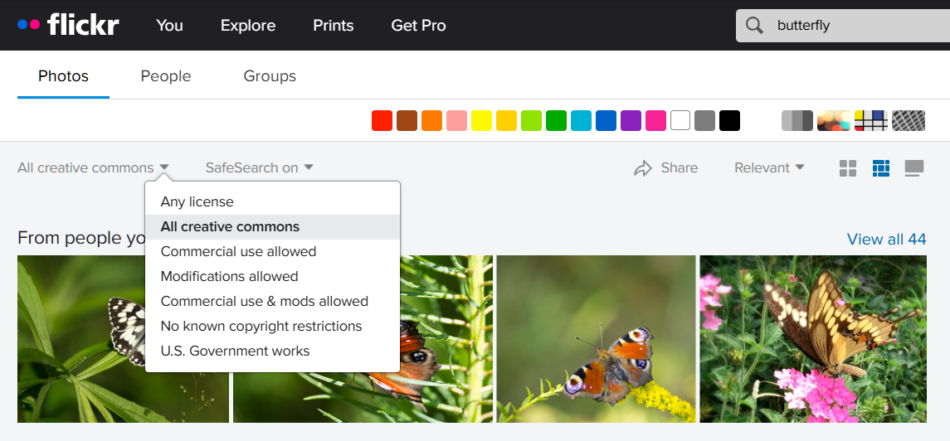
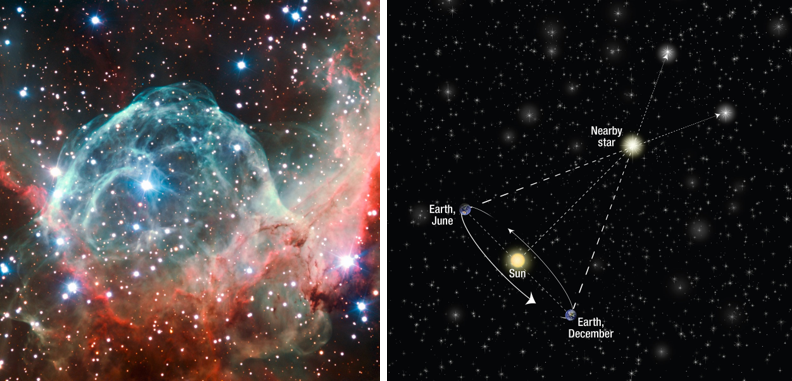
A final word of caution: with images as with text, just because something is online does not mean that it is accurate and correct. Check all images, especially scientific images, before using them.
Another way of obtaining images is, of course, to create them yourself. This is often more effort but has the advantage that you can create images that show exactly what you need to communicate. This is particularly important when sharing teaching resources, where you will need to illustrate your exact experimental setup or results.
An obvious way to create images is to take photographs with a digital camera or smartphone. This can be especially useful to illustrate experimental setups and results
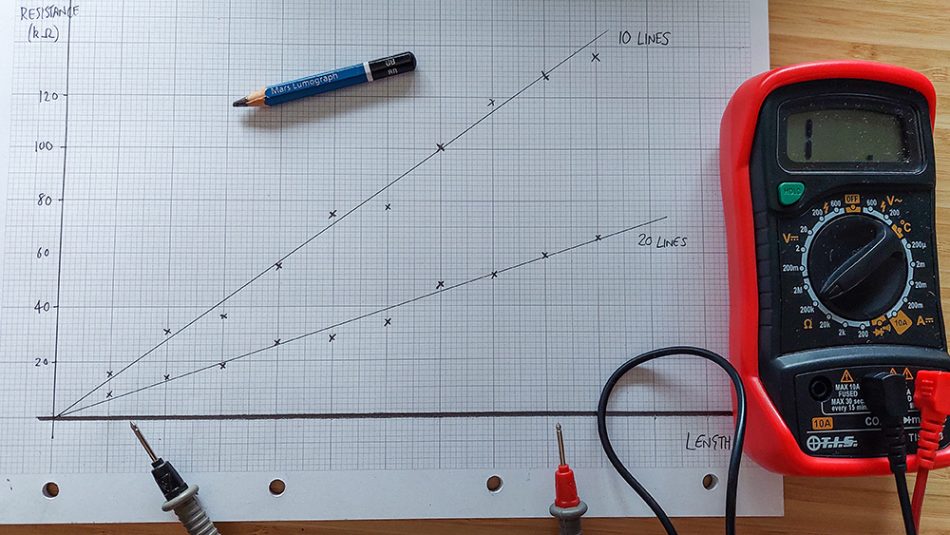
However, getting good-quality images can be challenging, especially with complex experimental setups. Here are a simple few tips for non-experts that can help:
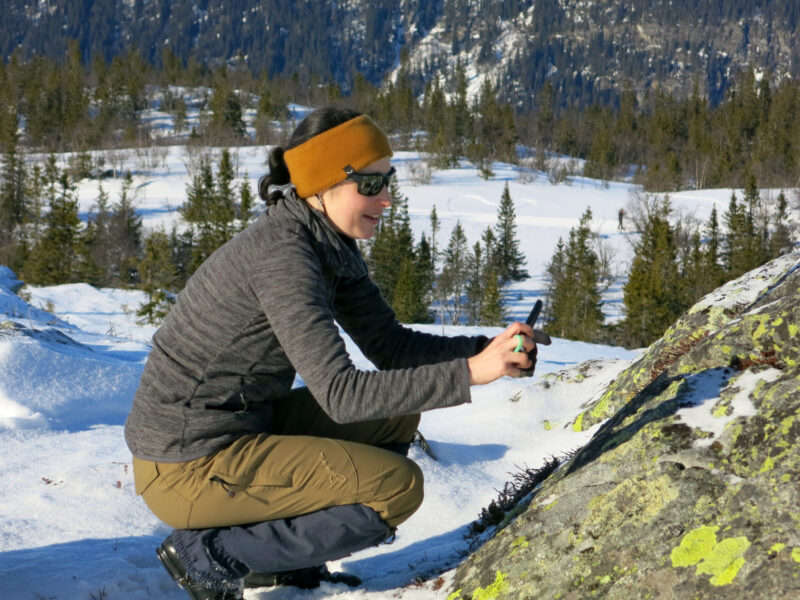
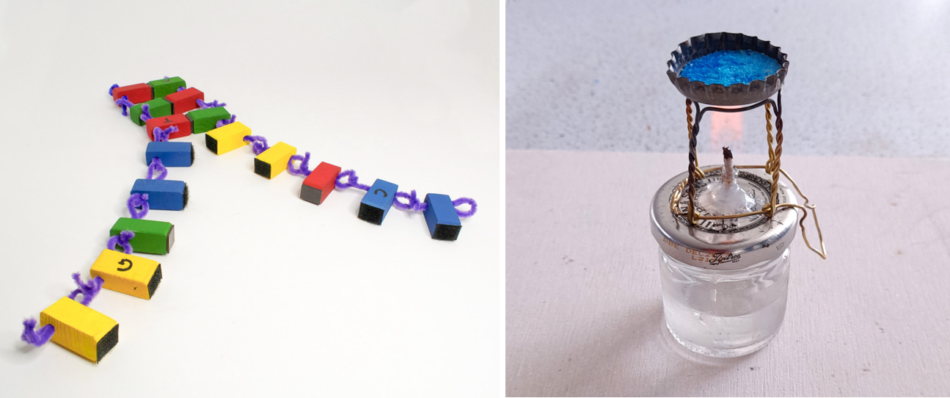
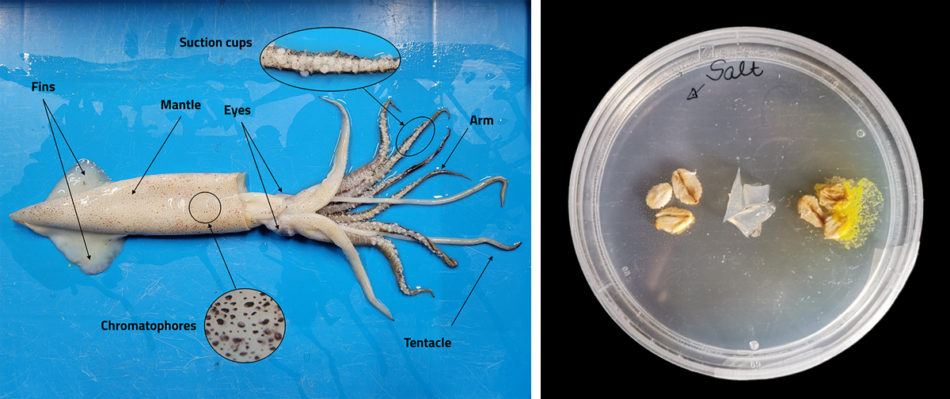
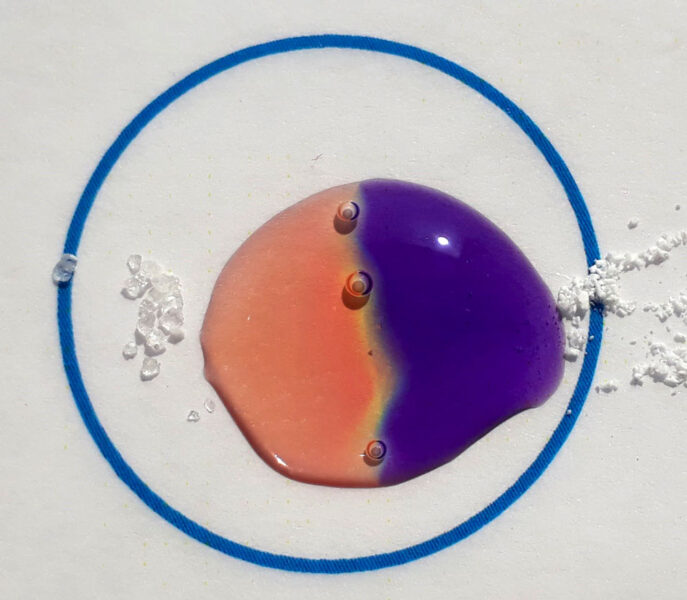
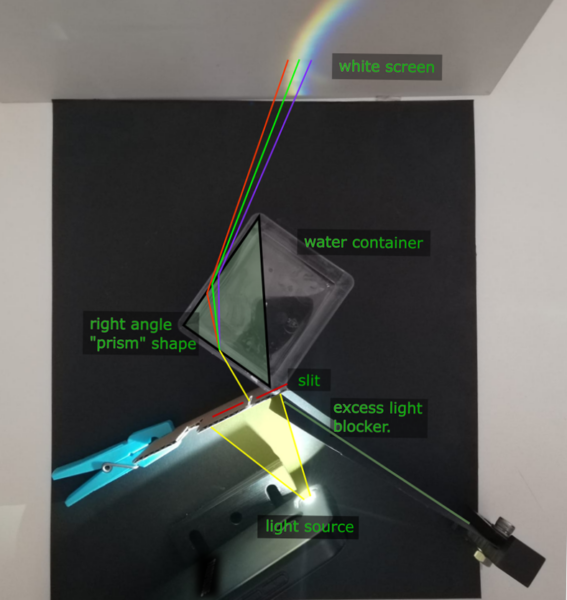
Finally, if you’re struggling, consider getting your students involved; older students are often very accomplished at taking (and editing) excellent photographs with their phones.
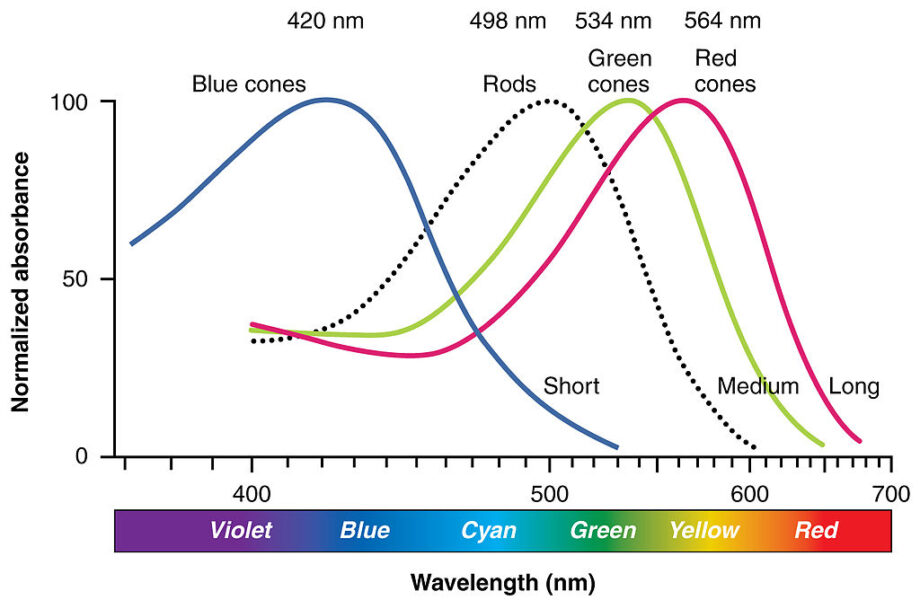
For complex experimental setups, setups with tricky-to-photograph elements like glassware or water, or complex scientific concepts, a scheme or diagram might be clearer than a photograph. These may be drawn from scratch by using a digital drawing tool or a graphic design tool like Canva, for example. Alternatively, diagrams may be assembled from other images, or photographs can be annotated to highlight the key features. If using other images that are not your own, make sure you have permission to use these and that they are all credited in the final image.
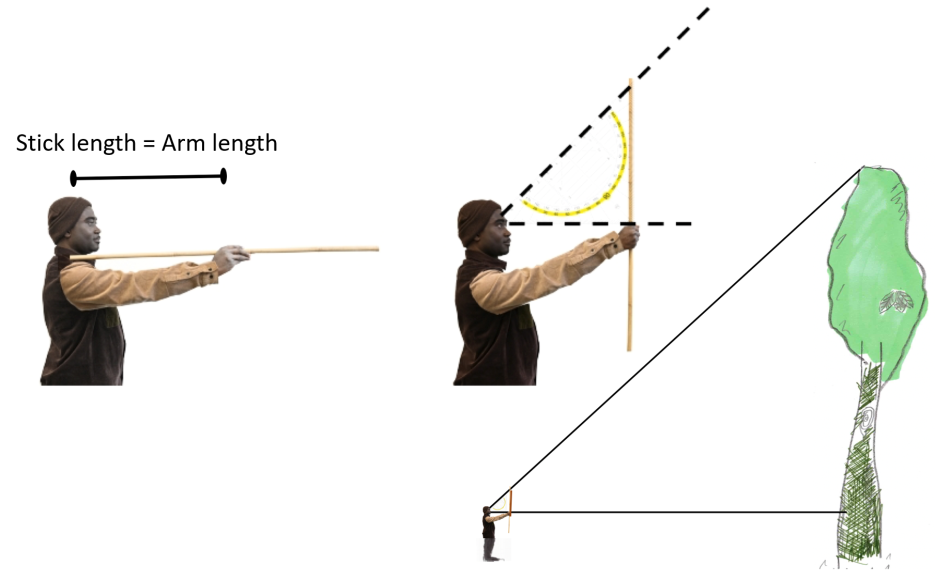
Some additional things to bear in mind are:
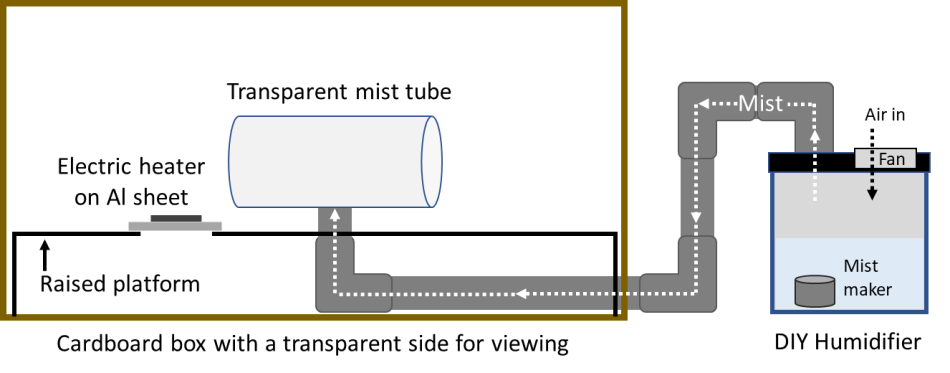
It’s also becoming increasingly common to use generative-AI tools to create educational diagrams.[17] If you do this, make sure you carefully check the output for accuracy and always declare the use of generative AI in the image credits.
All this information might give the impression that a lot can go wrong when using images, but it’s really not as difficult as you might think. Images can be a powerful addition to your resources, and hopefully these tips will help you make the most of them.
[1] How to write text descriptions (alt text): https://www.bbc.com/gel/how-to-write-text-descriptions-alt-text
[2] Guide to using alt text: https://www.theopennotebook.com/guide-to-using-alt-text-to-make-images-more-accessible/
[3] Copyright length by country: https://worldpopulationreview.com/country-rankings/copyright-length-by-country
[4] Creative Commons attribution: https://creativecommons.org/licenses/by/4.0/
[5] Creative Commons license options: https://creativecommons.org/share-your-work/cclicenses/
[6] Creative Commons NonCommercial license: https://en.wikipedia.org/wiki/Creative_Commons_NonCommercial_license
[7] Reasons not to use a Creative Commons – NonCommercial license: https://freedomdefined.org/Licenses/NC
[8] Copyrights in educations: https://ec.europa.eu/programmes/erasmus-plus/project-result-content/bb55c773-7713-46f2-967a-9118b2441723/Copyrights_in_education.pdf
[9] Copyrights and educations in Europe: https://communia-association.org/wp-content/uploads/2017/05/15casesin15countries_Infographics.pdf
[10] López Maza S (2022) Online teaching and copyright from the European Union perspective in COVID times. China-EU Law Journal 8: 67–69. doi: 10.1007/s12689-022-00096-8
[11] Dangers of using free stock photography: https://www.plagiarismtoday.com/2022/05/18/is-it-dangerous-to-use-free-stock-photo-websites/
[12] Proper model release: https://uslawpros.com/how-to-use-stock-photos-legally-common-mistakes-to-avoid/#what-is-proper-model-release
[13] Terms and conditions for using ESA images.
[14] Terms and conditions for using ESO images.
[15] Raster and vector images: https://www.adobe.com/creativecloud/file-types/image/comparison/raster-vs-vector.html
[16] Colour blind friendly colour maps: https://cran.r-project.org/web/packages/viridis/vignettes/intro-to-viridis.html
[17] UNESCO (2023) Guidance for generative AI in education and research. doi: 10.54675/EWZM9535

Great and small: use this photomicroscopy project to explore the way structure relates to function and the links between science and…
Seeing is believing: although hands-on practical work is incredibly important, the value of an engaging demonstration should not be overlooked.…
Seeing is believing, but how can you be sure that what you see is real? Find out how to distinguish between real and fake astronomical images.