Supporting materials
Download
Download this article as a PDF


On the shoulders of giants: follow in the footsteps of Eratosthenes and measure the circumference of the Earth like he did 2300 years ago.
The following learning scenario is made for secondary school students that are familiar with the concepts of equal angles, from geometry, and tangents, from trigonometry. Moreover, it can also be adjusted for primary school students not familiar with trigonometry: they can make measurements like Eratosthenes did and leave advanced calculations for the teacher.
Students can measure the Earth’s circumference like Eratosthenes did approximately 2300 years ago using simple materials and a stick’s shadow made by the Sun. Even though there is a high probability that the measurement will not approximate the true value of the Earth’s circumference, like we know it today, the measuring itself provides a basis for simple mathematical reasoning and scientific thinking.
Ideally, the experiment should take place on the March or September equinoxes on a sunny, or almost sunny, day. Before starting to measure the Earth’s circumference, students should learn about Eratosthenes, his life, work, and the way he calculated the circumference of the Earth.
Although it seems a simple and easy experiment, it takes time for students to really understand geometry, the direction of the Sun towards Earth on specific days, and the logical sequence of Eratosthenes’ thoughts.
The goal is not simply to measure the length of the stick and its shadow, but to understand Eratosthenes’ logic behind these simple measurements, and thus, highlight his ingenuity, since almost 2300 years ago he calculated the circumference of the Earth with relatively great accuracy.
We recommend carrying out the introductory activity, so that students understand the importance of Eratosthenes’ experiment, the era during which he did his experiment, what helped him to reach to his conclusions, and the way he managed to accomplish his experiment.
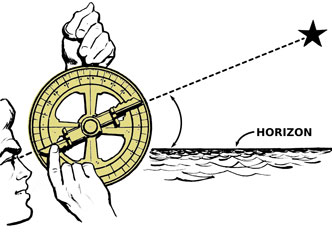
Before implementing the experiment, which is actually to measure distances and make calculations, we must first determine when the Sun reaches its highest point in the sky on the day of the equinox; what we call local noon (or zenith). This time differs for each school and depends on the school’s position on the globe and should be determined with the best accuracy possible. At this specific time, sunrays fall perpendicularly on the equator, and they are parallel to the equatorial plane, so a vertical bar will have no shadow. On the other hand, in our place at this specific time, a vertical bar will have a shadow.
A calculator tool that can be used is SunCalc. The position and date have to be filled in for the Sun’s culmination time to be calculated. At this exact time on the day of the equinox, students have to measure the stick’s length and its shadow.
This activity only takes a few minutes, but it is also recommended to do the introductory activity to set the context. It should be possible to do the introductory activity and Activities 1 and 2 in one lesson; these should be completed a few days before the measurement lesson on the equinox (Activity 3).
At least 1–2 days before the equinox (when the measurements will be made), you should:

Alternatively, if you don’t have enough time or equipment, you can demonstrate the procedure.
Finding the zenith time for the Sun should only take a few minutes. You can also use the application as a learning object for students and ask them to investigate different sundial characteristics. The tool gives the chance to understand the concept of noon during the year. Students can change the date, and then see the culmination time for each date. Solstices and equinoxes are dates that should be investigated. Local noon is in the midpoint between sunrise and sunset times, and it depends on the latitude and date during the year.
At least one day before the experiment, students should identify the school’s coordinates using online tools. What is to be measured is the distance in kilometres from the schoolyard to the equator along the school’s meridian, which is going to be a curved line, following the Earth’s curvature. All points along this meridian have the same longitude.
Eratosthenes knew the distance between Alexandria and Syene (nowadays Aswan) in stadia (an ancient unit of length). Nowadays, we can measure the distance using electronic applications. You could also get a distance estimate using a real map and a ruler, just like students used to calculate real distances years ago. Especially for younger students, it would be a great chance to refresh their knowledge of map scales. The measurement won’t be as accurate as the one with online tools, but it is a simple estimation.
This activity should only take 10 min.

The day that everyone was expecting has arrived. The teacher has to organize all the required materials before the time that the Sun reaches its highest point. Everything should be prepared in advance because, once the Sun reaches its zenith, there is no time to lose. Students have to act quickly, and they have to know exactly what to do.

After measuring the two lengths (stick length and shadow length) and writing the values on the worksheet, data processing begins. Calculations can be done in the schoolyard, with students working in groups and comparing their results with their classmates. Alternatively, if there is a lack of time, calculations can be done in the classroom at another time. Students can use scientific calculators (or the one on their smartphones) to calculate the angle θ.

There are several extension activities that can be done to make the learning experience more meaningful, such as calculating the radius of the Earth and collaborating with another school. These are described fully in the supporting material.
When doing the calculations and exporting the results, you could use the following questions as the basis for a discussion:
As a conclusion, you can emphasize to your students that science often develops from a simple idea and an inquisitive mind.
[1] Panhellenic Union of Heads of Laboratory Centers of Natural Sciences (Greek language): https://panekfe.gr/eratosthenes/
This article introduces ideas and activities that move teachers and students from a historical concept to its replication using modern technologies.
Marie Walsh, Science Lecturer, Ireland
Download this article as a PDF
How do physicists study very small objects (like molecules, atoms, and subatomic particles) and very large objects (such as galaxies) that cannot be…


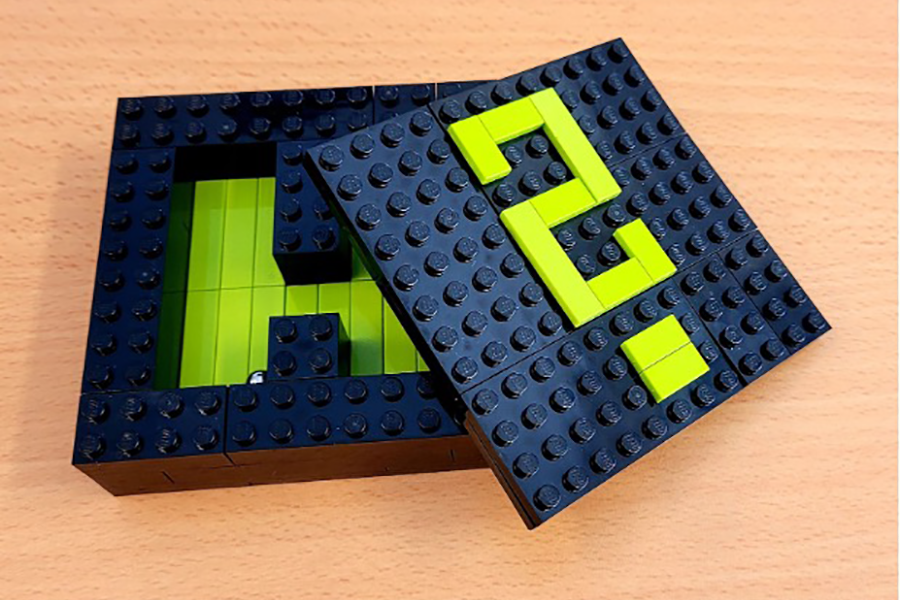
Thinking outside the box: explore the nature of science by building LEGO mystery boxes and challenging your students to solve the…
Get your students to use their smartphones for some hands-on…


