Physics with everyday objects: springy sweets, a universe in your pocket, and drawing circuits
Sweet success: everyday objects can be used to demonstrate fundamental physical principles in an engaging…

On a roll: a humble roll of toilet paper can be used in science experiments explore diverse topics in materials science, chemistry, and physics.
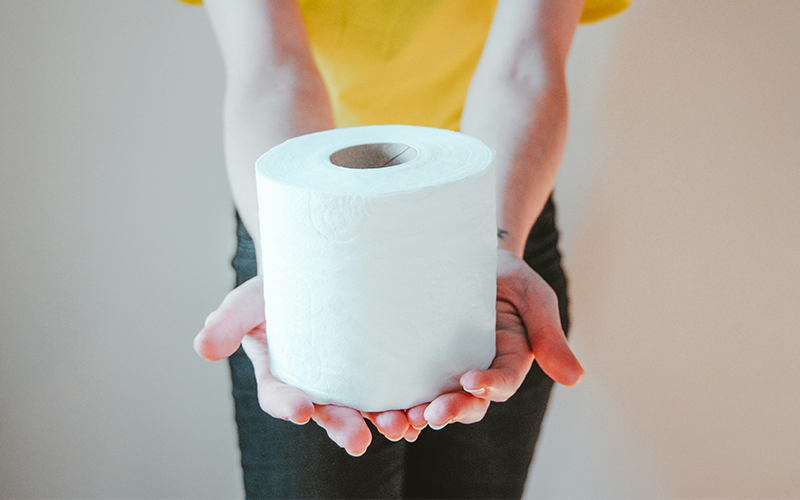
One of the most common hurdles in science education is the lack of proper facilities and enough materials, but don’t despair! As Peter Borrows says: “chemistry doesn’t just happen in test tubes”, and we can extend this motto even further. If we ask ourselves what the minimum required materials for a science class are, we can start with something as plain as a humble roll of toilet paper and not a lot more. In the following activities, we are going to see experiments with toilet paper and ideas for discussions on materials science, chemistry, and physics.
In this simple activity, students investigate the material property of anisotropy by tearing toilet paper in different directions. It can be adapted for different ages by tailoring the level of the discussion.

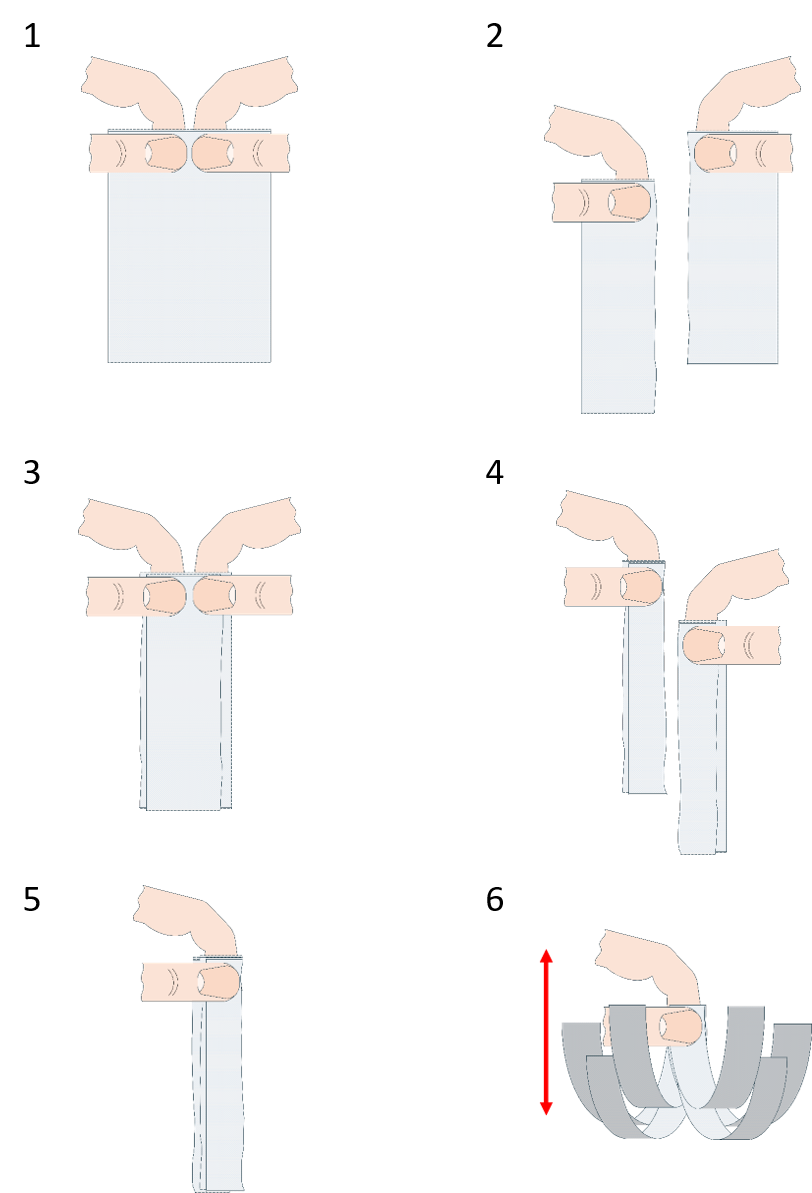
Some leading questions that can help to form the basis for a discussion:
Anisotropy is a big word, but it means nothing more than the ability of a material to behave differently depending on direction; this dependency is usually because of the internal structure of the material. The closest-to-us example is how some materials can split easily in given directions but are quite tough (or brittle) in others, for example, wood is made out of fibres, so it splits along their length (one good whack with an axe does the trick), but we need power tools to easily cut it perpendicular to them (e.g., a chainsaw for tree felling). Similarly, diamonds can be split nicely along their crystal-lattice borders, but a cut in a slightly off angle can reduce them to a pile of worthless dust (diamond dust can be used as an abrasive, but it costs much less than a good-quality gem). Other places in which we can encounter anisotropic materials are our bodies, in which we have muscle fibres in bundles, and the Eiffel Tower, which is made of wrought iron, an interesting pre-steel material filled with silicate fibres.
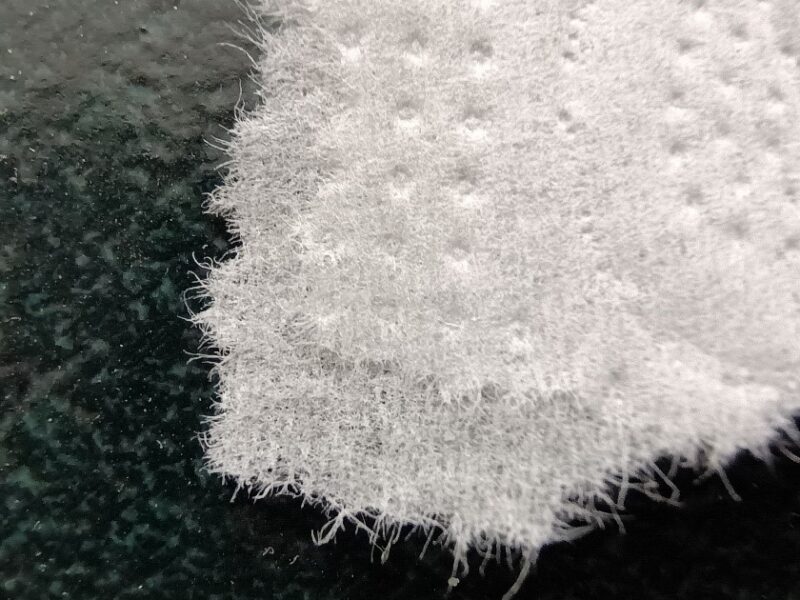
What does any of this have to do with toilet paper you ask? Well toilet paper is made of fibres (cellulose from wood), and those fibres are arranged parallel to each other because of the way the paper was made – the moist-fibre pulp was squished between two metal rolling drums, and that motion rotated the fibres in the direction of rolling.
We have seen in the first activity that toilet paper is a fibrous anisotropic material, but the same can be said about string or rope. What is the difference between them and toilet paper? In this activity, students investigate friction and intermolecular forces in toilet paper.


If the wick is tight enough, this will prove to be a difficult task, as we’ve just made a nice toilet-paper rope.

Some leading questions that can guide the discussion. These can be used during the experiment or as part of a discussion at the end:
The fibres in toilet paper are typically rather short. In the folded toilet paper, these fibres are fairly widely spread and they are in contact with each other only in a few places (loosely entangled), so the friction force between them is minuscule and they easily pull apart. When you twist the toilet paper, the fibres are brought close together, and we have multiplied the friction force between them to create a rope! The twist also makes it so that more threads are in contact, for example, compare the position of the threads that are on opposite edges in the folded piece with the same when twisted. There is more: in the previous case, when a thread is broken, the force is colinear with it; the thread can no longer hold, and from that breakage, the whole paper snaps. In the second case, the broken thread is not colinear with the force and the two pieces are in contact with more threads, which prevents propagation of the breakage.
However, there is a reason we don’t usually make rope out of paper. Paper is mostly short-fibre cellulose, and cellulose is a type of polycarbohydrate with many –OH groups sticking out of the chain. If we introduce water, it will interact with those groups and form hydrogen bonds; the paper will absorb the water and it will swell. That swelling is not a problem with normal long-fibre rope, but with our toilet-paper one, the short fibres will move further apart and the friction force will lessen; the water will act as a lubricant between the fibres and they will just slide past each other.
In this activity, we use capillary action to divide mixtures and gather information on the components of a felt-tip marker.
* You also can check other markers – some will be pure dye, some will be mixtures, and grey usually gives an interesting result.

Molecules tend to stick to each other, and the more similarities they share, the stronger the bonds they form. The ability of identical molecules to stick to each other is called cohesion, and their ability to stick to another material is called adhesion. Water molecules are great at cohesion, and they are good at adhesion to cellulose. These two qualities make capillary action – an upward flow of liquid through a narrow space – possible. Water can climb up to 10 m due to capillary action, and this plays an important role in water transfer in plants (although this is not the only trick that trees use). In the lab, we use capillary action to divide mixtures and gather information in a process called thin-layer chromatography (TLC).
In this experiment, students discover some of the common real-world effects of refractive indices by revealing a hidden image with oil.
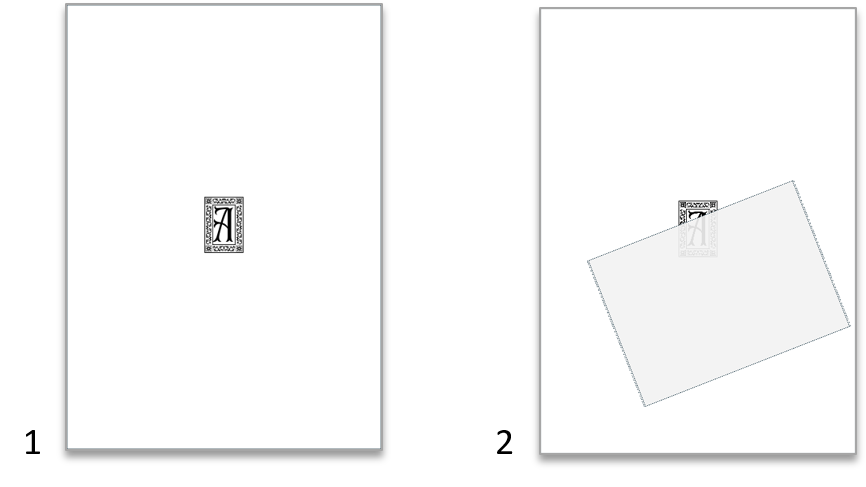
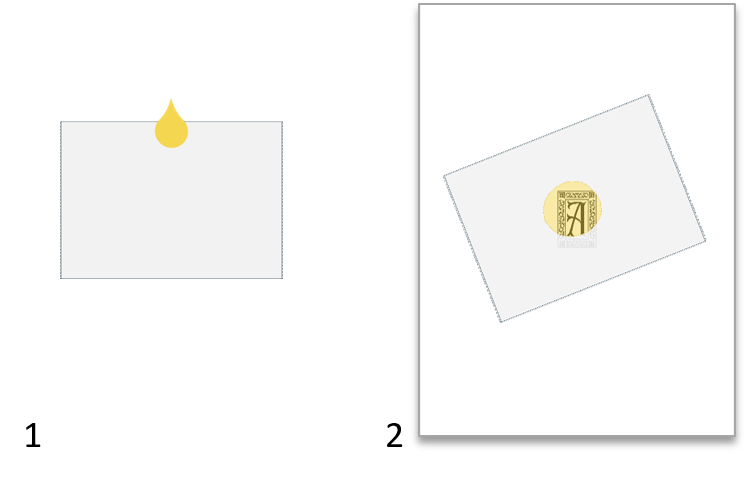
Though we perceive snow as white, it is composed of tiny ice particles and air, both of which are transparent. So, why does snow appear white? Two phenomena come into play here: one is refraction – light bends when it passes from one material to another if its speed is different in the two materials; the other is scattering – all that bent light gets reflected at random angles. In the end, most of the light gets back to our eyes but is scrambled, so snow (and toilet paper) appears neither transparent nor mirrorlike but white.
Now, what if we exchange the air that’s between the cellulose fibres with something else? Cellulose has a refractive index of about 1.47. Glycerol and most edible oils (sunflower seed oil, cooking oil, olive oil, etc.) have similar refractive indices, which means that, if oil fills the spaces between the fibres, there will be no refraction and the toilet paper will become transparent.
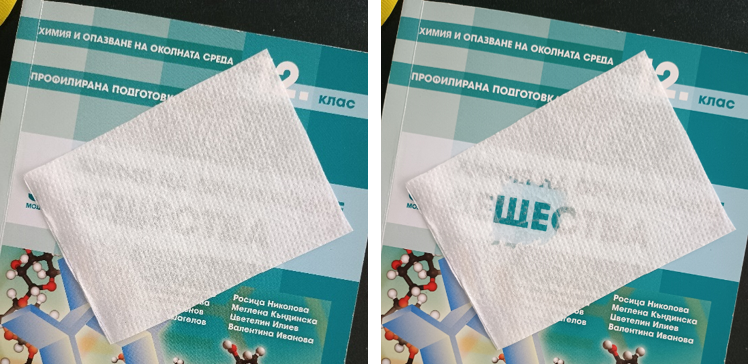
Optional additional questions, which can act as a basis for further discussion on optics:
Starting from a very cheap and common material, the author suggests interesting lessons to introduce scientific concepts like anisotropy, chromatography, and refractive index in an engaging way. It encourages student motivation through easy and safe hands-on activities that can be adapted for different school levels.
Mariapia Borghesan, Maths and Science teacher, Italy.

Sweet success: everyday objects can be used to demonstrate fundamental physical principles in an engaging…
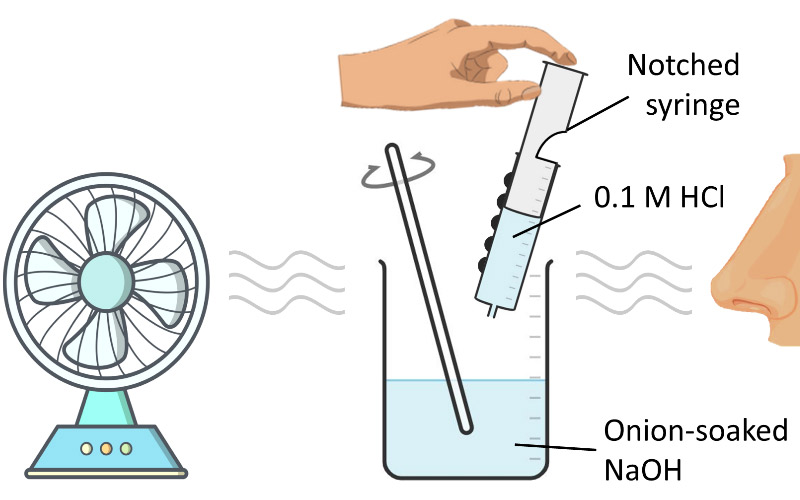
Discover simple adaptations to apparatus and experiments that make practical chemistry more accessible to students with vision impairment.
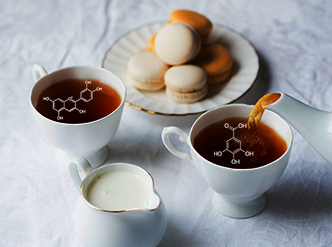
Tea is a refreshing drink – and it can also help students to learn about important chemical reactions, as these simple experiments with infusions…