Supporting materials
Download
Download this article as a PDF

Explore electromagnetic induction and of one of its well-known applications – the induction hob – with these hands-on activities.
Many modern devices are based on electromagnetic induction. Faraday’s law of induction, formulated in 1831, describes how a variable magnetic field induces an electromotive force (EMF). Applications of this law include:
Teaching Faraday’s law of induction in high school is challenging. Students aged 16–19 are required to apply both mathematical calculations and conceptual understanding to explore the science behind electromagnetic induction, and to investigate its application in daily life.
In this activity, students gain some direct experience of electromagnetic induction at work. The activities are suitable for physics students aged 16–19, and together take around an hour to complete, although additional time is required to prepare for activity 2 before the lesson.
At the end of the activity, students should be able to:
Faraday’s law of induction states that a change in the magnetic environment of a wire coil will induce an electromotive force (EMF), represented by ε:
where N is the coil number of turns and Φ is the magnetic flux across the coil.
If the timescale is small, the derivative term dΦ/dt can be approximated to ΔΦ/Δt. This approximation is particularly useful if the students are not sufficiently familiar with differential calculus.
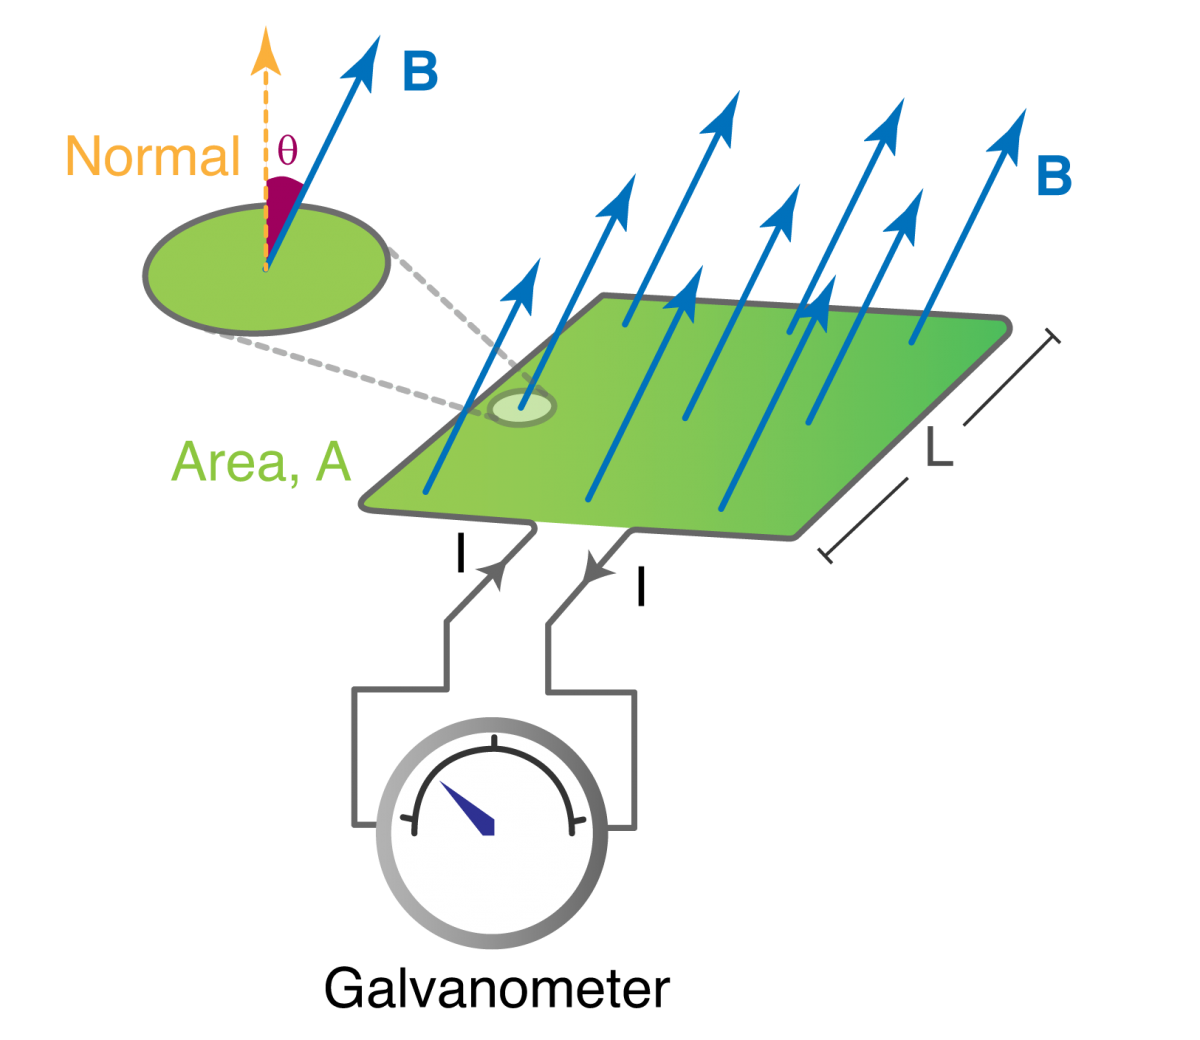
The magnetic flux depends on the coil area A, the magnetic field intensity B, and the angle θ formed between the magnetic field lines of force and the vector normal (at 90°) to the coil plane:
Any change in the magnetic field intensity, coil area, or in the angle results in an induced EMF that can be measured with a galvanometer and used to demonstrate the principles of induction. This setup is shown in figure 1.
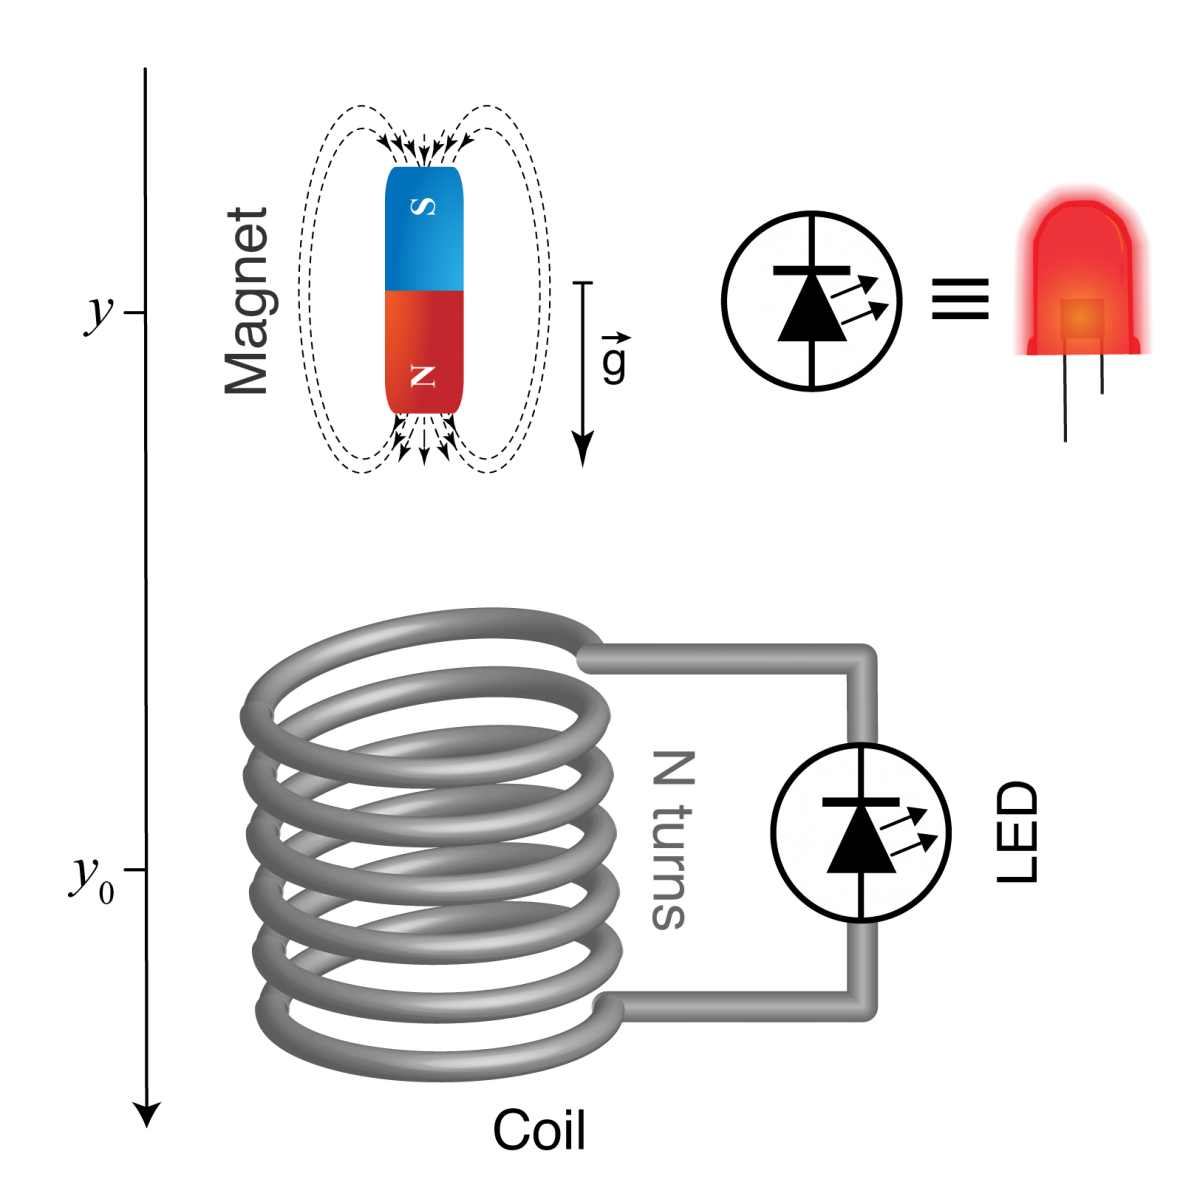
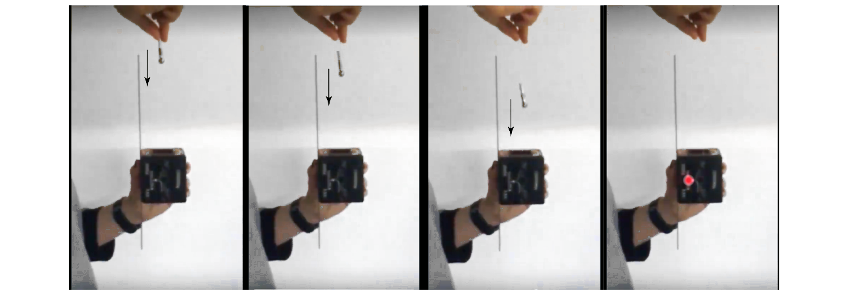
In this experiment, to be carried out by the students, a magnetic dipole is dropped through a coil, inducing an EMF by causing a transient change in the intensity of the magnetic field. To observe the EMF change, the coil can be connected to a galvanometer or a light-emitting diode (LED). Using an LED (figure 2) has the advantage of producing a visible output (flash of light) when the induced EMF rises above a threshold value (~1.5 V).
Teachers can discuss the following questions with the students to explore key concepts:
Students can watch their videos of the experiment to find evidence for their answers, or watch the provided video. The process happens very fast in real life, so a slow-motion video is needed to clarify the details.
The experiment should show a clear difference in the intensity of the LED emission as the initial distance between magnet and coil increases, resulting in increased magnet velocity and a greater rate of magnetic flux change.
The LED is a polarized device, which means that it only emits light if the applied EMF is positive (when the electrical current can flow). Whether the EMF is positive or negative depends on the direction of travel of the magnet (which pole of the magnet is currently moving through the coil) and which way round the coil has been connected to the LED contact pads.
We can see this in more detail in the simulation shown in figure 4e. Here, the EMF is positive for only approximately half of the time period for which the magnet is inside the coil, and that the positive EMF has a higher maximum value than the negative EMF due to the magnet accelerating as it falls through the coil.
While the flashing LED provides an indication of an induced EMF resulting from the changing magnetic flux, it provides no quantitative values. We can find out more precisely the varying values of magnetic flux as the magnet falls through the coil by using a further equation:
where y represents the magnet coordinate, y0 the coil centre coordinate, Bmax the maximum value of the magnetic field intensity, and σ is a parameter describing the magnetic field intensity decay.
Here we make the following assumptions or approximations:
The parameter σ (distance for B ~ 37 % of Bmax) can be assumed to be in the 5 – 10 mm range, the complete procedure for experimental determination can be found in Ref. [1].
For a magnet in free fall, the displacement y of the magnet at time t is related to gravitational acceleration, g via equation 4:
Table 1 provides an example of the parameters used.
| Parameters | Symbol | Value | Unit |
|---|---|---|---|
| Coil area | A | 250 | mm2 |
| Coil number of turns | N | 12000 | |
| Magnetic field maximum intensity | Bmax | 3 | mT |
| Magnetic field decay | σ | 10 | mm |
| Coil centre coordinate | y0 | 200 | mm |
Using the values in table 1, equations 3 and 4, and the attached spreadsheet, we can produce a mathematical model that shows these variations graphically, as seen in the results and graphs in figure 4.[2] Here, the magnetic flux through the coil and the induced EMF are shown as a function of position and time. The magnet is released at y = 0 and t = 0, and it falls in the positive direction of the axis. The coil is centred in position y0.

Using figure 4 and the spreadsheet, teachers can discuss the following questions with the students:
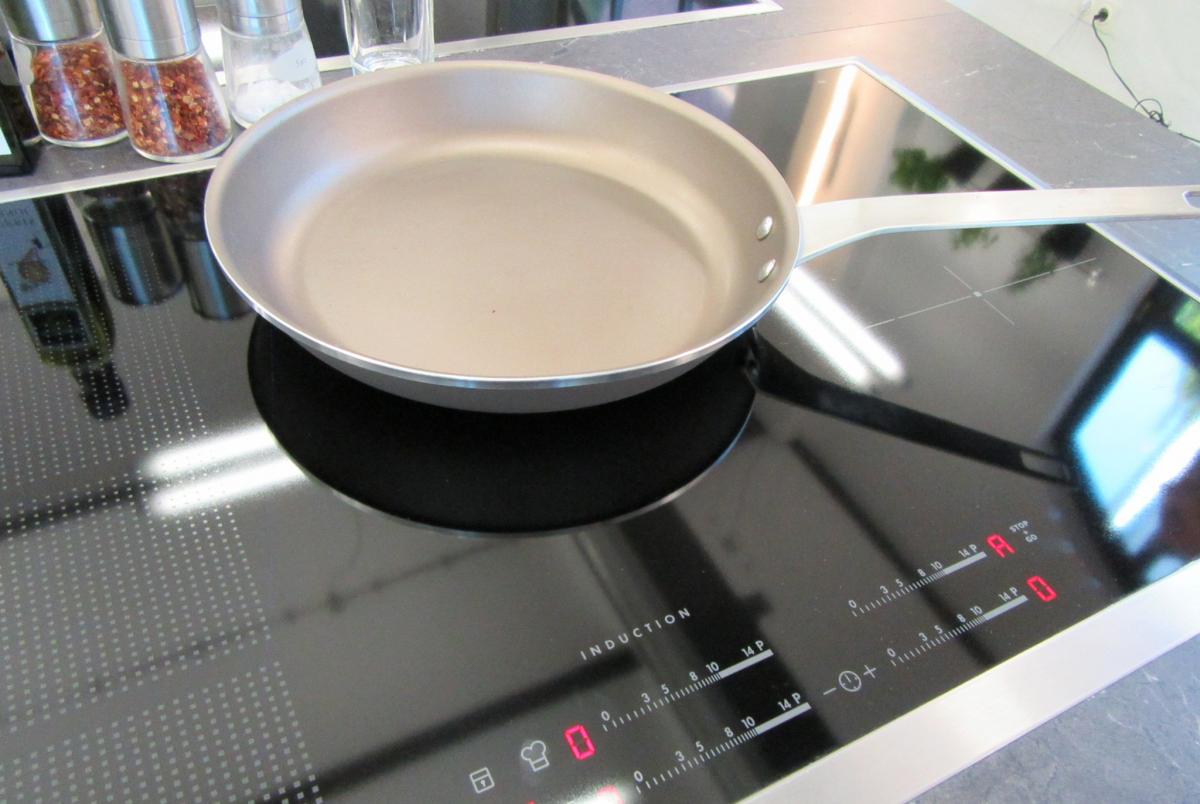
A real-life application of Faraday’s law is cooking using an induction hob, where a pan is heated by electrical induction, rather than via thermal conduction from a flame or electrical hotplate. Induction hobs generate heat within the pan itself, making this cooking method more efficient. However, all pans need to be made from a ferromagnetic metal (usually cast iron or stainless steel).
An induction hob has a coil, powered by an alternating electric current, underneath a ceramic plate. The alternating current produces an oscillating magnetic field, which induces an oscillating magnetic flux in the base of a pan placed on the hob. This produces an electric current (called an eddy current) in the pan base, heating it up.
In induction hobs, the magnetic field intensity is typically small (~100 mT), but it oscillates at a high frequency (27 kHz). This means that the rate of change of the magnetic field intensity is very high, resulting in high values for the induced EMF and thus for the heating produced.
In this activity, students investigate the induced EMFs around an induction hob, again using an LED connected to a coil.
Although the induction hob doesn’t get hot, the cooking pan and water will, so students should be warned not to touch it and care should be taken that the pan handle is out of the way and can’t be easily knocked while carrying out the experiment. Special care should be taken if the students are to carry out the soldering step themselves, and this should only be done under close supervision by the teacher.
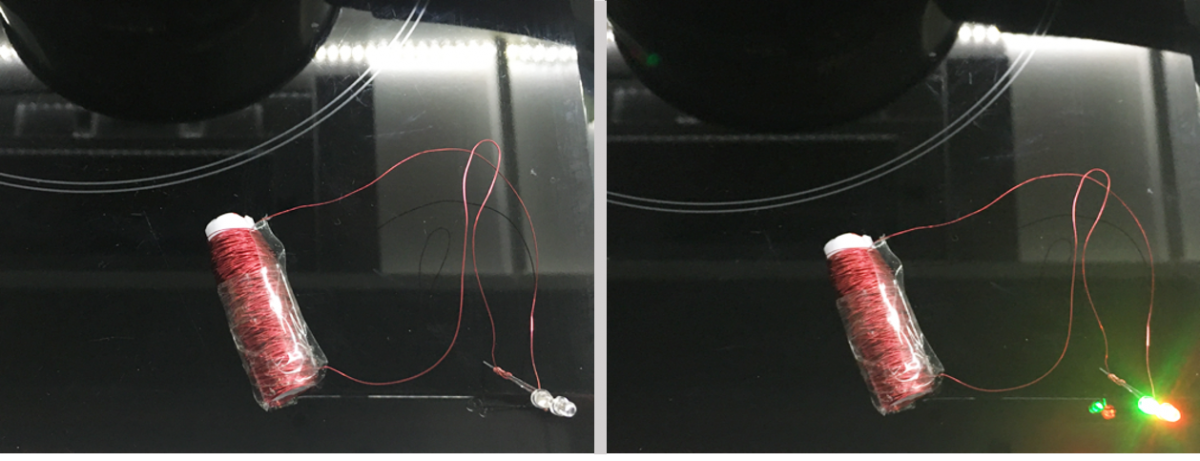
Teachers can discuss the following questions with the students to explore the key concepts.
Students should find that the magnetic field is largely confined to the pan region, and the field intensity decreases rapidly with distance from the hob. Rotation of the coil results in a change of the EMF, according to equation (2), due to the changing angle between the coil and the magnetic field line of force.
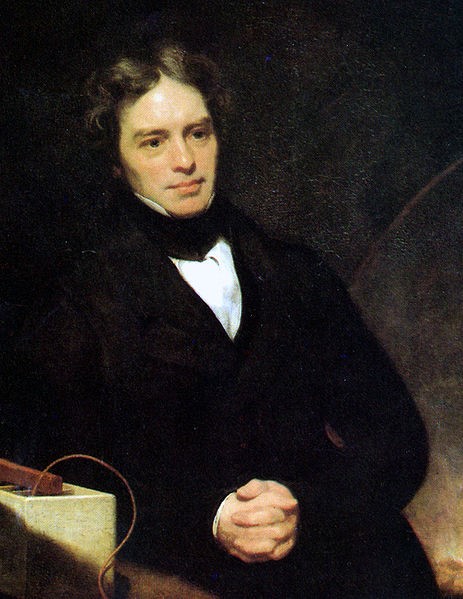
Michael Faraday was a British scientist who set out the principles underlying electromagnetic induction. Although Faraday received little formal education, he became one of the greatest scientific discoverers in history. The unit of electrical capacitance, the farad (F) is named in his honour, and it was largely due to Faraday’s efforts that electricity became practical for widespread use. Several concepts that he derived from experiments, such as magnetic force lines, became important theoretical ideas in physics, giving rise to modern electromagnetic theory.
Faraday worked in the laboratory of the Royal Institution in London. In 1831, he demonstrated the principle of induction: this enabled the development of the dynamo (or generator), which produces electricity by mechanical means. In 1845, Faraday also established that an intense magnetic field can rotate the polarization plane of light (now known as the Faraday effect), showing an underlying relationship between magnetism and light.
Faraday ceased research work in 1855, but he continued as a lecturer until 1861.
This work was developed within the scope of the project CICECO-Aveiro Institute of Materials (UIDB/50011/2020 & UIDP/50011/2020), Instituto de Telecomunicações (UIDB/50008/2020-UIDP/50008/2020), and WinLEDs (POCI-01-0145-FEDER-030351) financed by national funds through the FCT/MEC and when appropriate co-financed by FEDER under the PT2020 Partnership through European Regional Development Fund (ERDF) in the frame of Operational Competitiveness and Internationalization Programme (POCI).
[1] Enrique A et al. (2015) Measurement of the magnetic field of small magnets with a smartphone: A very economical laboratory practice for introductory physics courses. European Journal of Physics 36:1–11. doi: 10.1088/0143-0807/36/6/065002
[2] Amrani D (2005) Electromotive force: Faraday’s law of induction gets free-falling magnet treatment. Physics Education 40:313–314. doi: 10.1088/0031-9120/40/4/F02
Download this article as a PDF