Experimenting with storytelling Teach article
Folktales can be a great way to introduce hands-on science into the primary-school classroom.
Earlier this year, I ran workshops for young children (aged 7–10) and their parents to do hands-on practical activities linked to a cultural story or folktale. In many UK primary schools there are pupils from many different backgrounds, with as many as 25 native languages being spoken at some schools. Despite their differences though, everyone enjoys a good story. Not only did some of these stories resonate with people from different cultures, they also promoted good values and contained some science.
Although these activities were originally developed for children and their parents, they use cheap, easily accessible equipment and can be repeated effortlessly in the classroom. Here, I describe activities that present very different aspects of science, all of which can be introduced with a folktale.
Making butter: the two frogs

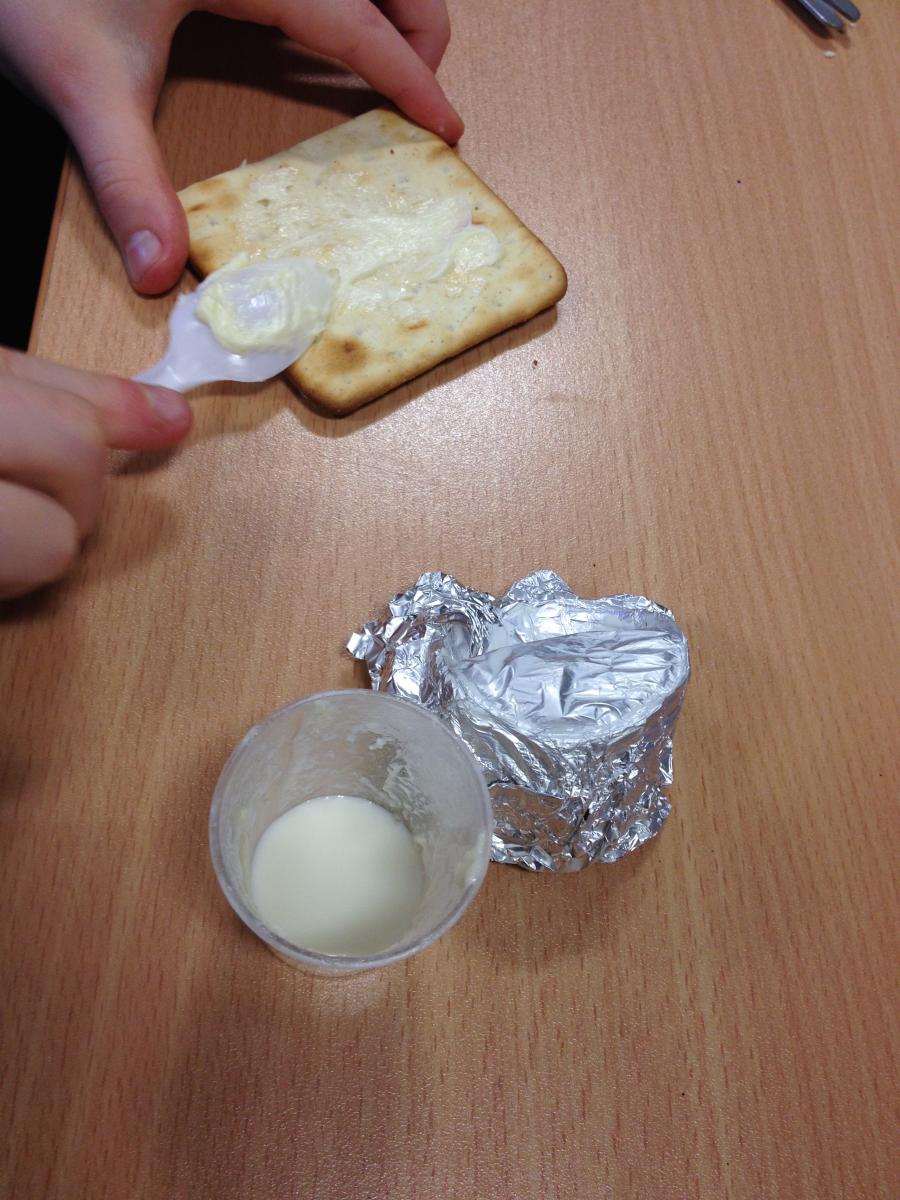
results of your experiment.
Image courtesy of Sai
Pathmanathan
The first activity, making butter, is based on a Russian folktale.
Once upon a time, there was a big frog and a little frog. One day they went on a journey and found themselves on a dairy farm. While hopping around, they accidentally hopped into a huge bucket filled with cream. The sides of the bucket were too high and slippery for them to climb out.
The little frog said that they needed to keep paddling until someone came to rescue them, but the big frog said he was too tired to swim and he slowly began to sink. The little frog urged the big frog to keep paddling and as they paddled, the cream started to turn into butter. Soon there was a huge lump of butter floating on the surface. The frogs climbed onto it, and were able to hop out of the bucket and all the way home.
Materials
Per participant:
- Disposable plastic shot glass, or other small transparent container with a narrow opening
- Plastic spoon
- Kitchen foil (10 cm x 10 cm)
- Small balloon
Per class:
- Scissors
- 300–600 ml full-fat double cream (minimum 48% milk fat)
- Optional: crackers or bread (edible activities are always memorable!)
Procedure
- Cut the neck off the balloon.
- Pour about 1 cm of cream into the container. (The more you use, the longer the experiment will take.)
- Place the foil over the mouth of the container, and stretch the balloon top over the top to prevent leaks.
- Now shake! It should take no more than 15 minutes to turn the cream into butter. Within 5 minutes, you should see the thickness and colour begin to change: from thin cream to thicker cream, then to a yellow solid. You will hear and feel a rattling as a small ball of butter forms.
- Remove the balloon and the foil. There should be a lump of butter floating in white, runny buttermilk.
- Optional: using the plastic spoon, spread a small amount of the butter on a cracker or piece of bread to taste. (Please check your local regulations to see if this is allowed.)
What is happening?
Cream is an emulsion: tiny droplets (in this case, of fat) suspended in another liquid (mostly water, but also proteins, sugars and minerals such as calcium). The process of shaking the cream (churning) makes the droplets bang together. If they hit each other with enough force, they stick to each other. The lump gets bigger as each additional droplet attaches.
You could ask your pupils, for example:
- Where does cream come from?
- What does cream contain? How does it differ from milk?
- Do you think it is necessary to use double cream in the experiment? Could you use single cream or even milk? Why/why not?
- If the fat is now mostly in the butter, what is left in the buttermilk?
- The moral of the story also fits well with the activity. Like the frogs, the children need to work hard and not give up!
Erupting volcanoes: Pele, the volcano goddess of fire
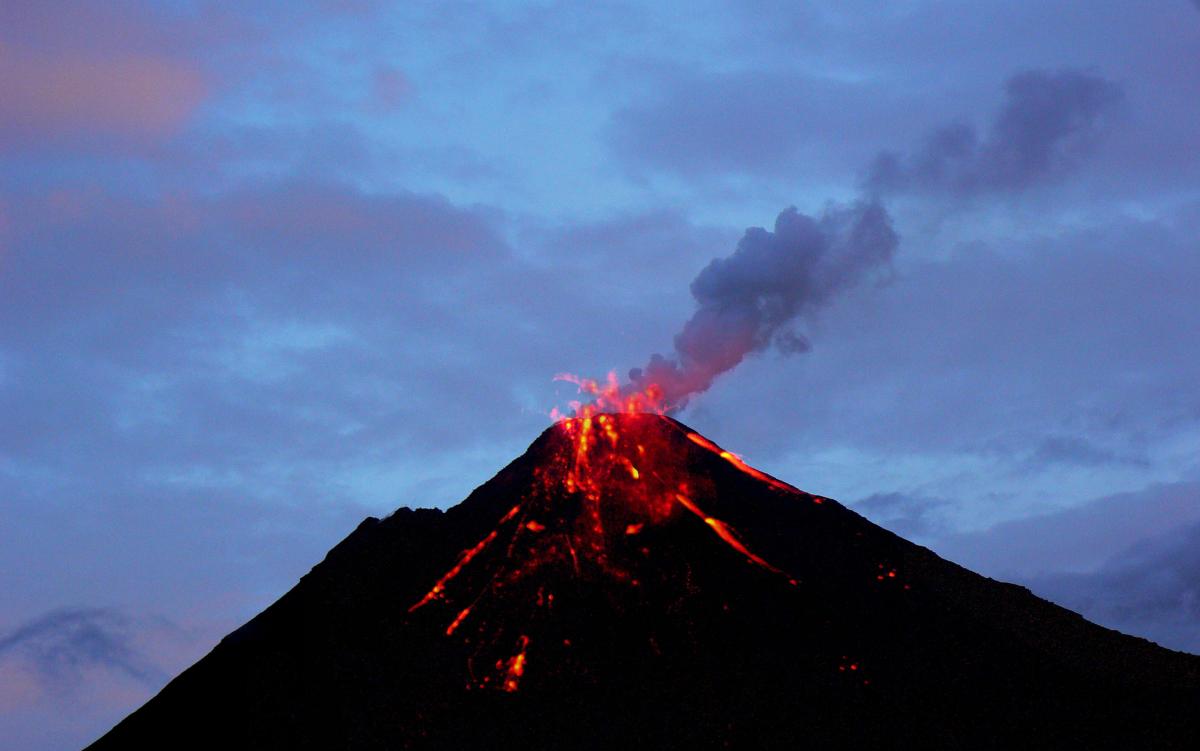
Based on a Hawaiian legend, this activity models the action of volcanoes.
One day, the sea goddess Namaka was angry with her sister Pele, the goddess of fire. So their parents, Mother Earth and Father Sky, sent Pele and her other brothers and sisters off in a canoe to find a safe place to hide from Namaka. They landed on an island and Pele began to build a home for them, using her digging stick to make a pit in which she then lit a fire. The fire rose up out of the earth, sending rivers of hot lava into the ocean and pushing the water away. As the lava cooled, it turned to stone, forming the island of Kaua’i: a new home for Pele and her siblings.

Namaka was still angry though, and sent huge waves to flood the pit and put out the fire, so Pele and her siblings had to move again. They found a new island and once again, Pele dug a pit and lit a fire; the resulting lava created the island of O’ahu. Again, Namaka sent the waves to flood Pele’s new home. Finally, the siblings arrived on the Big Island, which was too high for Namaka’s waves to drown the fire. Native Hawaiians believe that Pele is still living in the Kilauea crater on the Big Island.
Materials
Per participant:
- Small block of modelling clay
- Pencil
- Bowl
- Plastic spoon
To share:
- Bicarbonate of soda (NaHCO3)
- Vinegar (CH3COOH)
- Optional: glitter or sequins (to make the lava sparkle)
- Optional: plastic cups, 3 ml plastic pipettes (to share out vinegar)
Procedure
- Mould the modelling clay into a mountain shape. This is your volcano.
- Using the blunt end of a pencil, make a small hole in the top, just deep enough to hold some lava mixture.
- Place your volcano in the bowl to prevent any spills when the volcano ‘erupts’.
- Optional: mix some bicarbonate of soda with glitter or sequins, if you want the lava to sparkle.
- Put a small amount of bicarbonate of soda (with or without sparkle) into the hole in the volcano.
- To make the volcano erupt, gently pour (or use a plastic pipette to add) a small amount of vinegar into the top of the volcano.
What is happening?
A volcano is an opening in Earth’s crust through which molten rock (magma), gas and ash erupt with a lot of force. The gases that come out of volcanoes are mainly water vapour and carbon dioxide, but there are other, dangerous gases too.
The lava mixture in the activity is mainly bicarbonate of soda, an alkali. When an acid such as vinegar reacts with the bicarbonate of soda, bubbles of carbon dioxide gas are released.
Suitable questions to ask your pupils might include:
- What is forcing the mixture out of the hole in your volcano?
- What do you think the bubbles consist of? What other gases can you name?
- Is the mixture hot? Why / why not?
- How does what is happening to your model volcano compare with the action of a real volcano?
You could pass around some lava rock (e.g. a pumice stone), which is surprisingly light. Or you could introduce the Hawaiian words for different types of lava: Pahoehoe is smooth lava that cools slowly and moves slowly, and A’a is sharp lava that cools quickly and moves fast.
Displacement of water: the crow and the pitcher

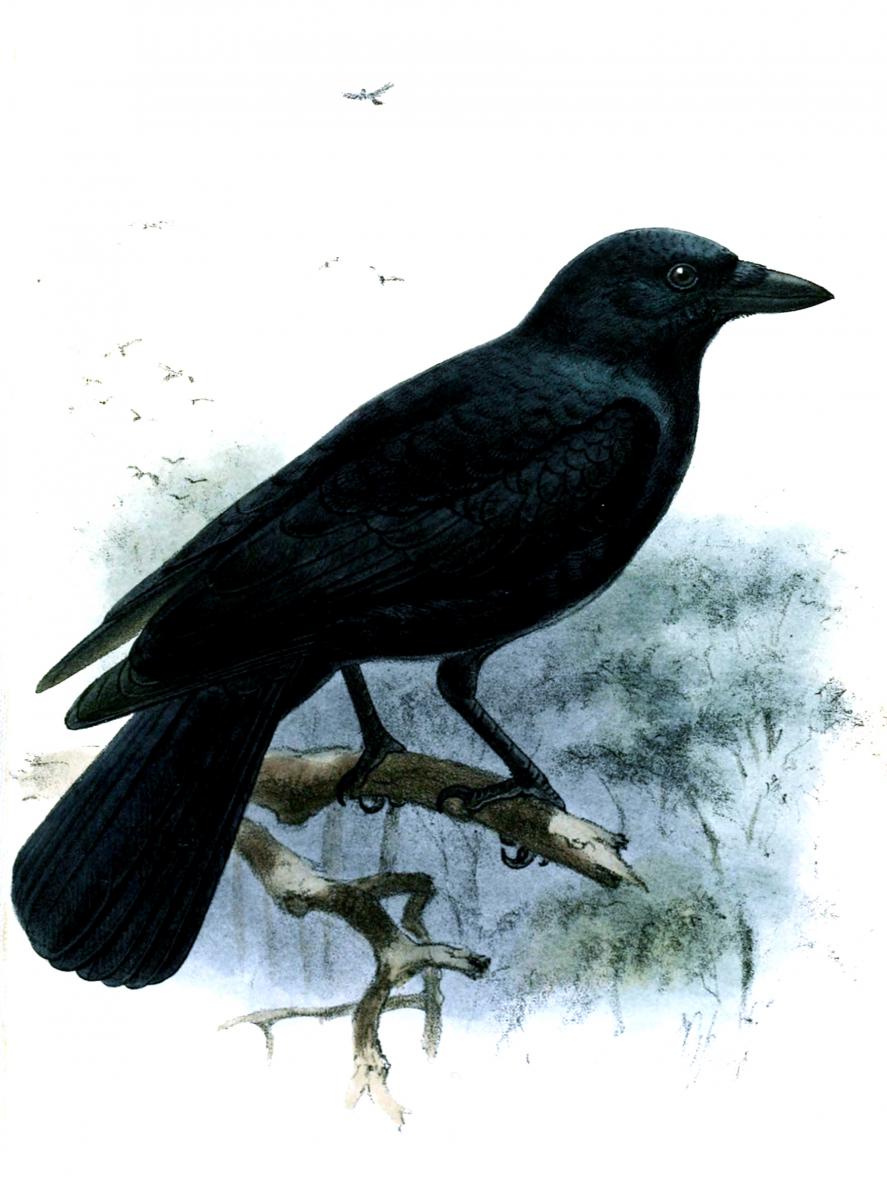
row used stones to raise the
level of water in the jug.
Image courtesy of John Gerrard
Keulemans; image source:
Wikimedia Commons
Based on Aesop’s fable of the crow and the pitcher, this activity investigates the displacement of water.
There was once a very clever crow. One hot day, he was thirsty and after flying around for a long time searching for water, he came across a pitcher [a large jug] of water, but it was nearly empty. He couldn’t reach the water, however hard he tried, and if he tipped the pitcher over, the water would sink into the ground before he could drink it.
The crow thought for a moment, then took a pebble and dropped it into the pitcher. He noticed that the water moved upwards. The more stones he dropped into the pitcher, the more the water moved upwards. Soon he was able to have a refreshing drink of water.
Materials
Per participant:
- Transparent disposable cup
- Marker pen
- Water
To share:
- A selection of small objects, e.g. pieces of ice, pebbles, shells and modelling clay
Procedure
- Half fill the cup with water, then use the marker pen to draw a line showing the water level.
- One at a time, drop a variety of objects into the cup, and see what happens to the level of the water.
What is happening?
Because water cannot be compressed, it moves up (i.e. is displaced) by the same volume as that of the object added. This phenomenon can be used to determine the volume of an irregular object and thus, if we also measure the weight of the object, its density.
Volume and density may be challenging concepts for younger children, but the pupils can investigate which objects float and sink, and watch how the water level rises. Suitable questions to ask your pupils might include:
- What makes the water level rise?
- Do large objects make the water level rise more than smaller objects?
- What about hollow objects such as shells?
- Take two similar-sized pieces of modelling clay and mould them into different shapes (e.g. a ball and a worm). Does the shape affect how much the water level rises?
- What effect do objects that float (e.g. ice) have on the water level?
- Older children could try to find ways to measure the volume of the different objects.
Acknowledgement
These activities were developed with the support of the UK’s Biochemical Societyw1.
Web References
- w1 – The UK’s Biochemical Society offers grants that support scientific outreach activities to communicate the excitement of molecular bioscience to young people and the community.
Review
The article is interesting and novel in that it helps the teacher to teach science in an interdisciplinary way. As a teacher, I would love to implement such activities in my science lessons as they are a great way to link science with language lessons, and specifically storytelling. The experiments are really interesting for primary-school pupils and are a little out of the ordinary for such young children.
Christiana Th Nicolaou, Centre of Educational Research and Evaluation, Ministry of Education and Culture, Cyprus


