Classic chemistry: finding the empirical formula Teach article
Witness a spectacular chemical reaction and take some careful measurements to work out the empirical formula of a compound.
Every chemical compound has a chemical formula. In fact, there are several different types of chemical formula for any one compound (figure 1). Perhaps the most familiar type is the molecular formula – such as H2O for water and CO2 for carbon dioxide – which tells us the number of different atoms in each molecule. Structural formulae go a step further by showing how the atoms are linked together within the molecule, which is especially important for organic compounds.
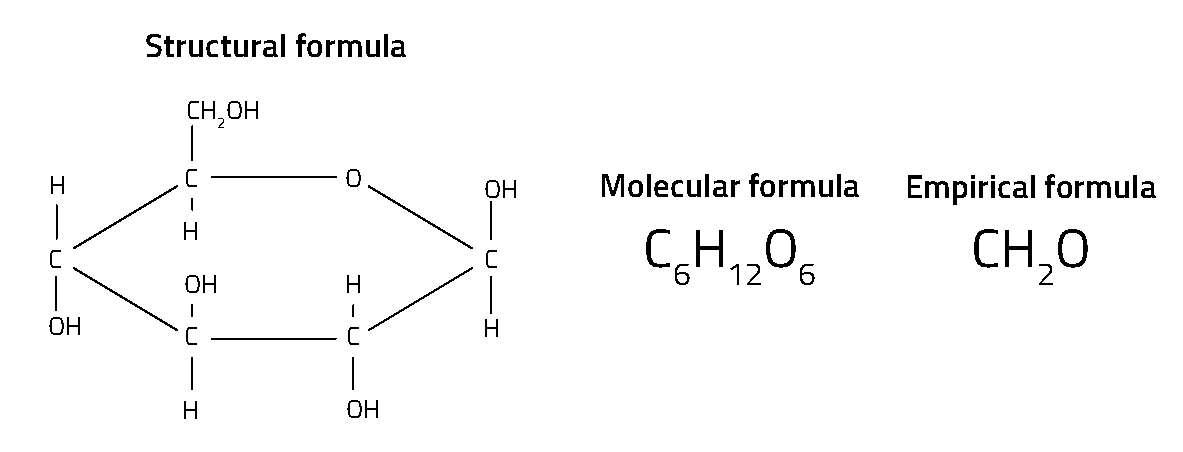
The simplest type of formula – called the empirical formula – shows just the ratio of different atoms. For example, while the molecular formula for glucose is C6H12O6, its empirical formula is CH2O – showing that there are twice as many hydrogen atoms as carbon or oxygen atoms, but not the actual numbers of atoms in a single molecule or how they are arranged. These simple, ratio-based formulae were developed by early chemists in the 18th century. They are known as ‘empirical’ formulae because the ratio between the numbers of atoms in a compound can be found by traditional methods of chemical analysis by experiment.
Caroline Evans
Today, working out an empirical formula experimentally is an important feature of chemistry courses all over the world. It is also the first step in working out the chemical formula of an unidentified compound, making it a useful tool in chemical analysis. The classic school demonstration involves heating magnesium in a crucible to make magnesium oxide – a dull white powder. In this article, a much more exciting alternative is described: a dramatic reaction between tin and iodine, producing a bold purple vapour and bright orange crystals as the reaction progresses.
The aim of the experiment is to calculate the ratio between tin and iodine atoms in tin iodide. This is done by synthesising this compound and accurately measuring the mass of the reagents at the start of the experiment and the leftover tin at the end. The experiment involves a range of techniques, including setting up and using a reflux condenser and using organic solvents for extraction. As well as covering the practical exercise of deriving the empirical formula, the experiment links to more theoretical chemistry topics, such as the benefits of using a reagent in excess, the synthesis of compounds from their elements, and how bonding can be linked to solubility. It’s also a very clear application of the law of conservation of mass, which is a fundamental principle throughout chemistry (and science generally).
Depending on the number of fume cupboards available in your classroom, students can carry out the experiment themselves, but it is also suitable as a teacher demonstration. The experiment takes about two hours and works best in a double lesson, but it is also possible to split it between two single lessons. It is most suitable for students aged 16–18, but it could also be used as an extension activity for those aged 14–16.
Materials
The teacher (or each group of students) will need the following:
- 3 g iodine
- 5 g tin metal, in pieces no larger than about 1 cm square
- 60 ml cyclohexane
- Propanone
- 250 ml round-bottomed flask (for example Quickfit®)
- 100 ml measuring cylinder
- Two 250 ml beakers
- Clamps
- Electric heating mantle
- Reflux condenser
- Water supply
- 2 large pieces of filter paper
- Accurate weighing balance
- Lab jack (optional)
Safety note
Students should wear a lab coat, gloves and safety goggles. Solid iodine is corrosive and can stain the skin, which is why gloves should be worn. The experiment should be carried out in a fume cupboard. As iodine vapour is toxic, ensure that the purple vapour does not rise more than one-third of the way up the reflux condenser when heating. Cyclohexane and propanone are highly flammable, so a heating mantle is required, and care should also be taken to keep both these solvents away from naked flames. Propanone should be disposed of in a solvent residues bottle. In addition, teachers should follow their local health and safety rules.
Procedure
- Place the 250 ml round-bottomed flask on weighing scales. Place about 3 g of solid iodine in the flask, and record accurately the mass added.
- Add about 5 g of tin metal to the flask and record accurately the mass of tin used.
- Clamp the flask by the neck and add 60 ml of cyclohexane.
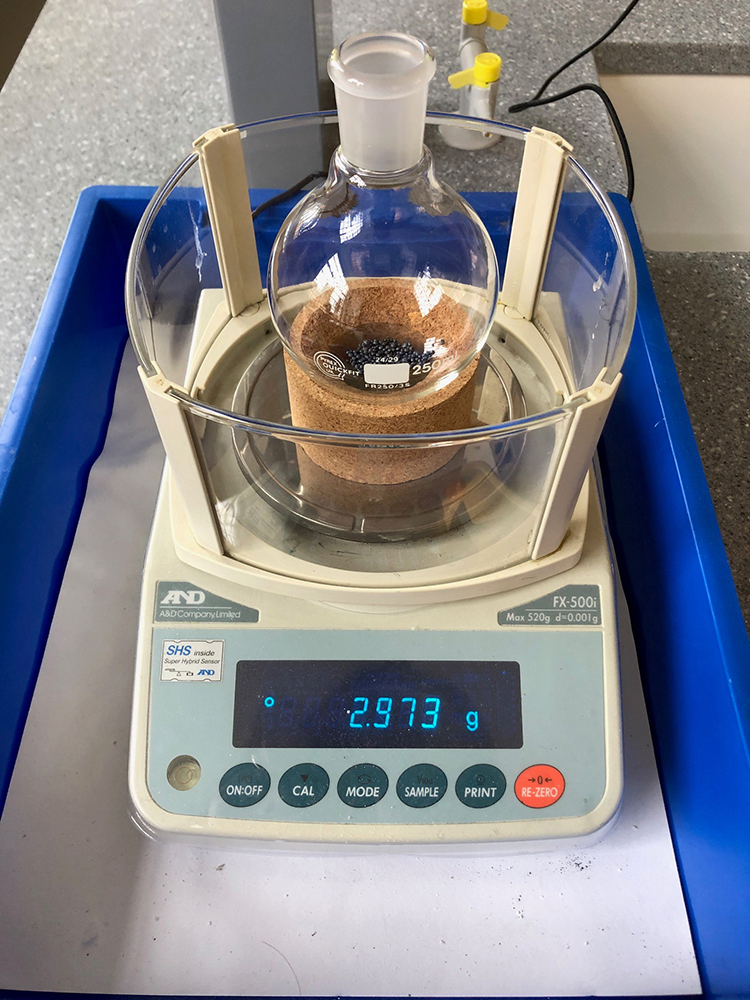
Weighing the iodine (step 1)
Caroline Evans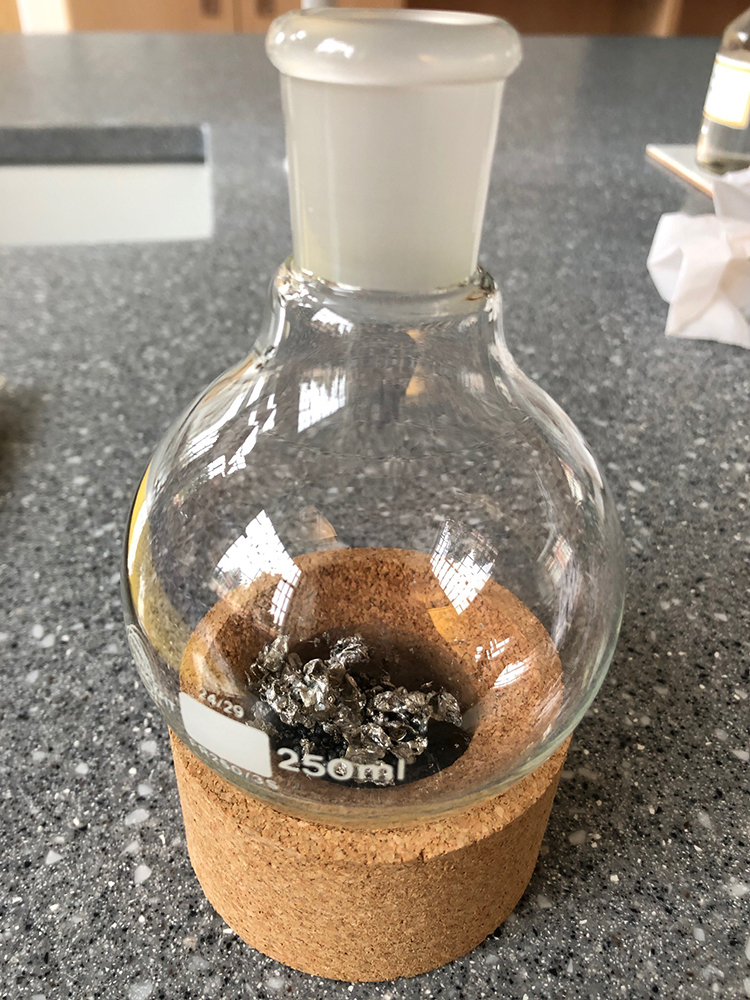
Tin and iodine in the flask
(step 2)
Caroline Evans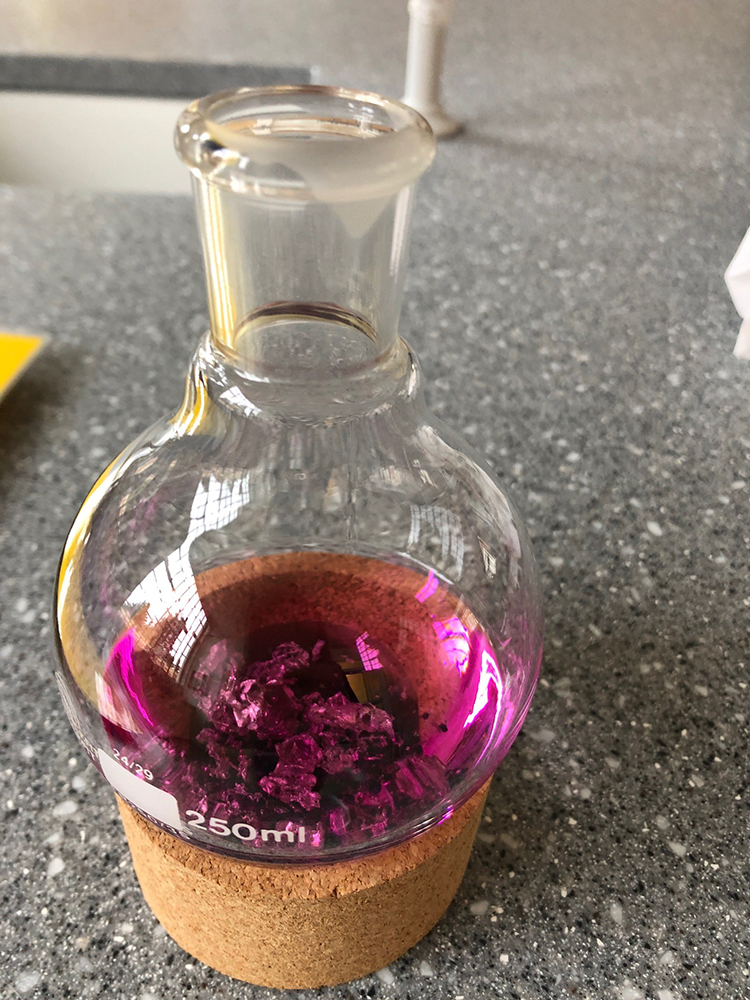
Flask with cyclohexane added to the tin and iodine (step 3)
Caroline Evans - Lower the flask into an electric heating mantle. You may wish to use a lab jack to allow you to raise and lower the heater when required.
- Attach a reflux condenser vertically into the neck of the flask, then clamp and connect this to the water supply.
- Heat the mixture gently in the flask until it starts to boil.
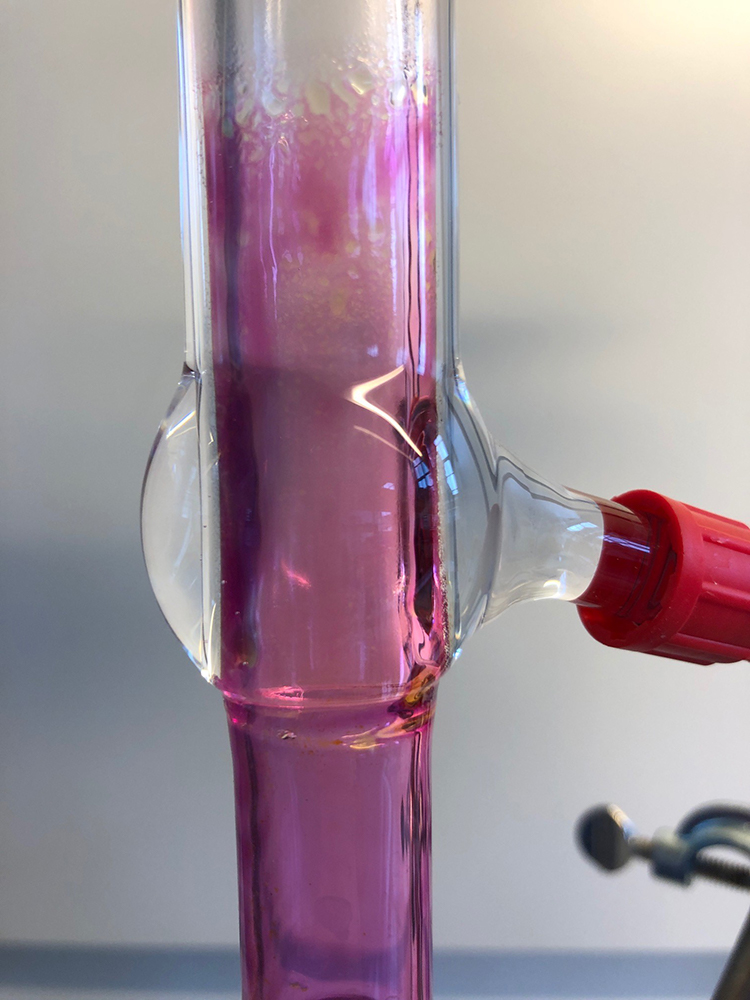
- Now reduce the heat so that the mixture boils steadily and the purple iodine vapour rises no more than one-third of the way up the condenser.
- Continue heating until there is no longer any trace of purple, and the liquid dripping back into the flask from the condenser is colourless. The liquid in the flask should be orange. This may take up to an hour to complete.
- Allow the mixture in the flask to cool.
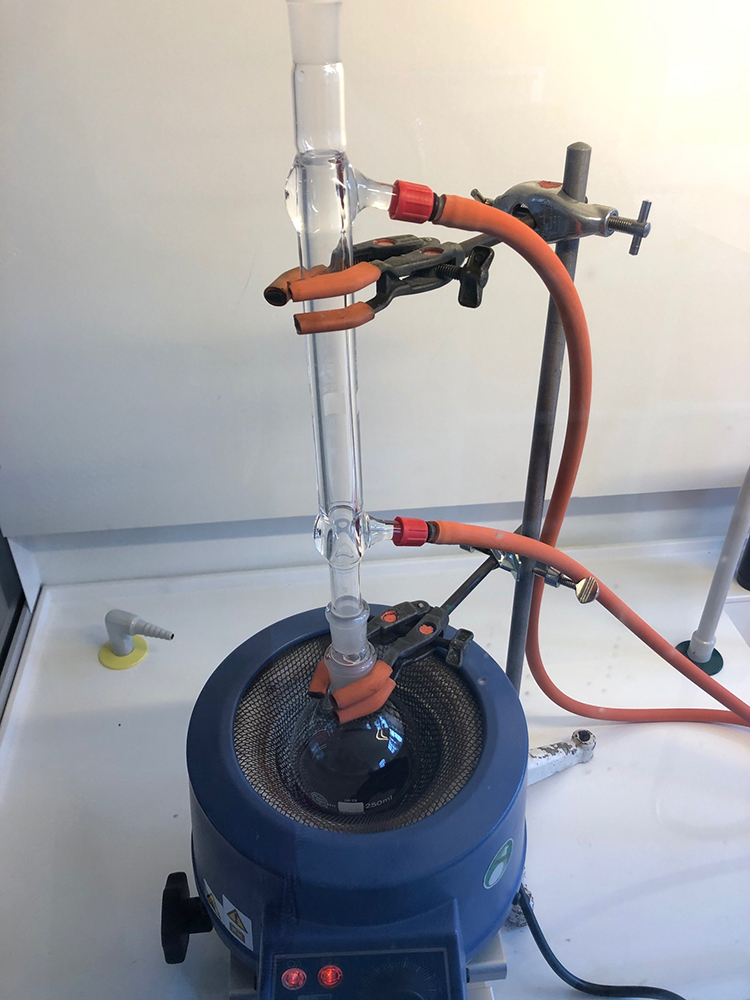
Flask, reflux condenser and
heating mantle setup
(steps 4–5)
Caroline Evans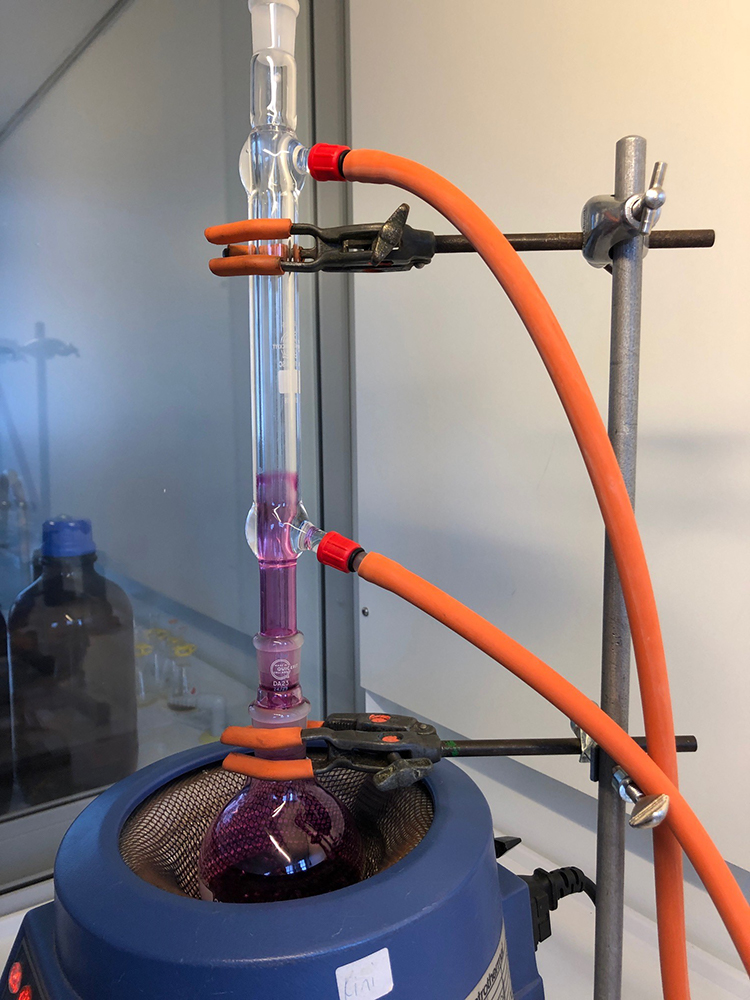
Iodine vapour rising as the
mixture is heated (step 7)
Caroline Evans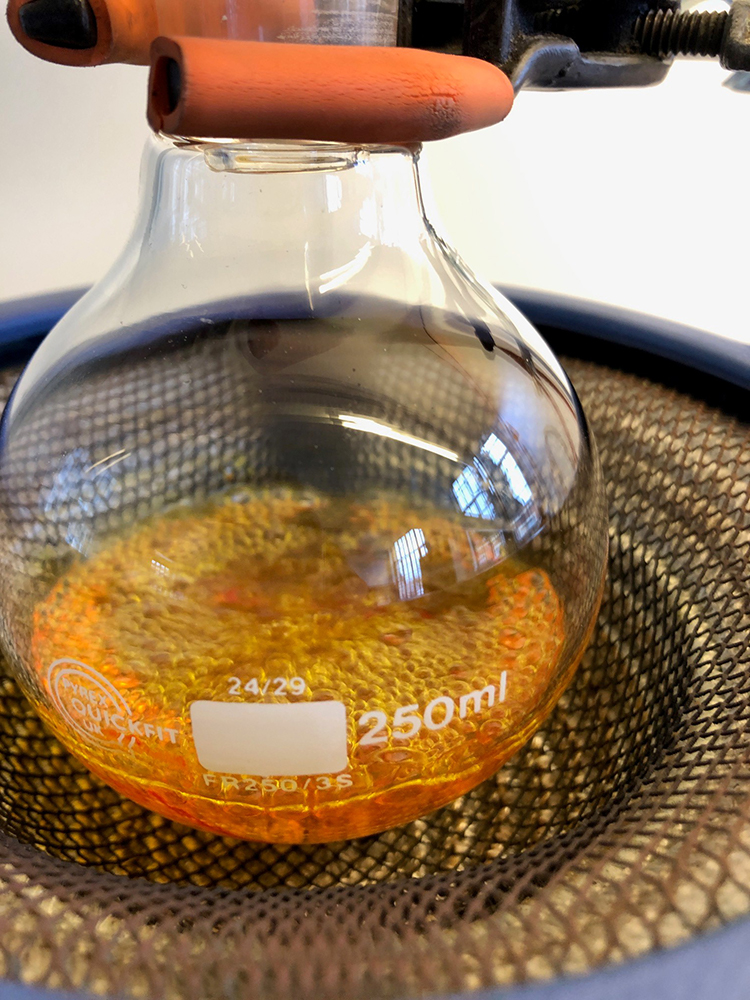
Orange liquid formed (step 8)
Caroline Evans - In a fume cupboard, pour the orange liquid from the flask into a beaker, taking care not to tip out any of the residual tin metal.
- Pour a small amount of propanone into the round-bottomed flask and swirl this around to dissolve any remaining tin iodide that could still be in the flask with the excess solid tin. Carefully decant the propanone washings into another beaker. Repeat this process of swirling with propanone until the propanone poured from the flask into the beaker is colourless. This step ensures the leftover solid tin does not contain any of the orange tin iodide.
- Leave the beaker with the orange liquid (step 10) in the fume cupboard overnight so that the solvent evaporates, allowing beautiful orange tin iodide crystals to form. (You can look at these in the next lesson.)
- Transfer the unreacted tin left in the flask at the end of the experiment onto two large pieces of filter paper. Allow the filter paper and tin to dry in the air, then weigh and record the mass of leftover tin.
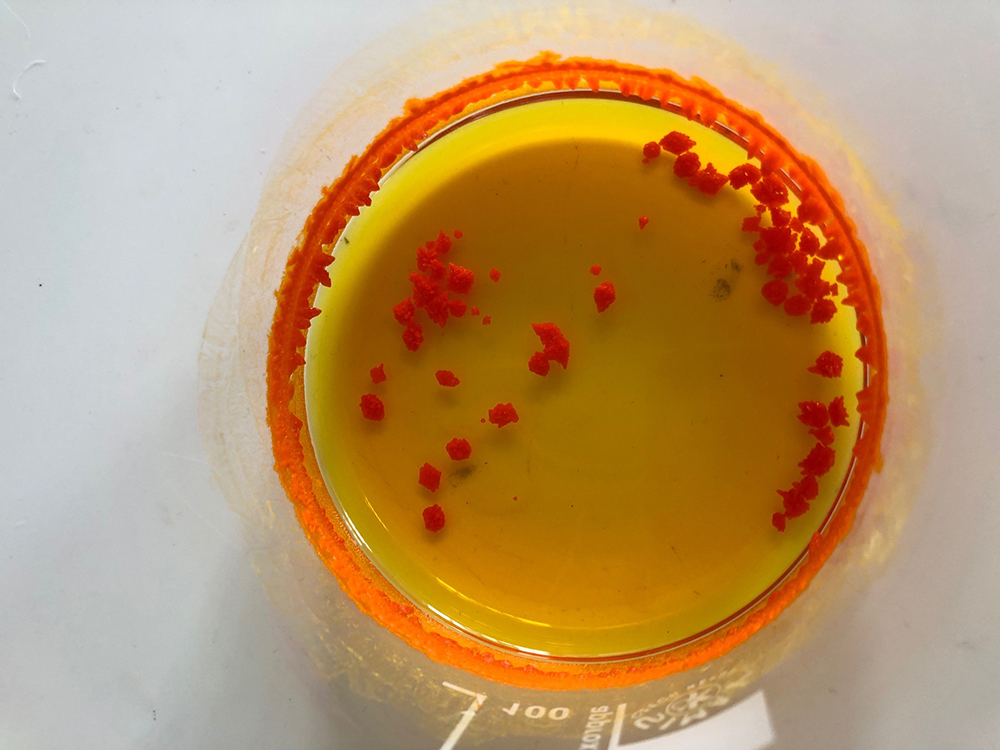
Tin iodide crystals formed (step 12)
Caroline Evans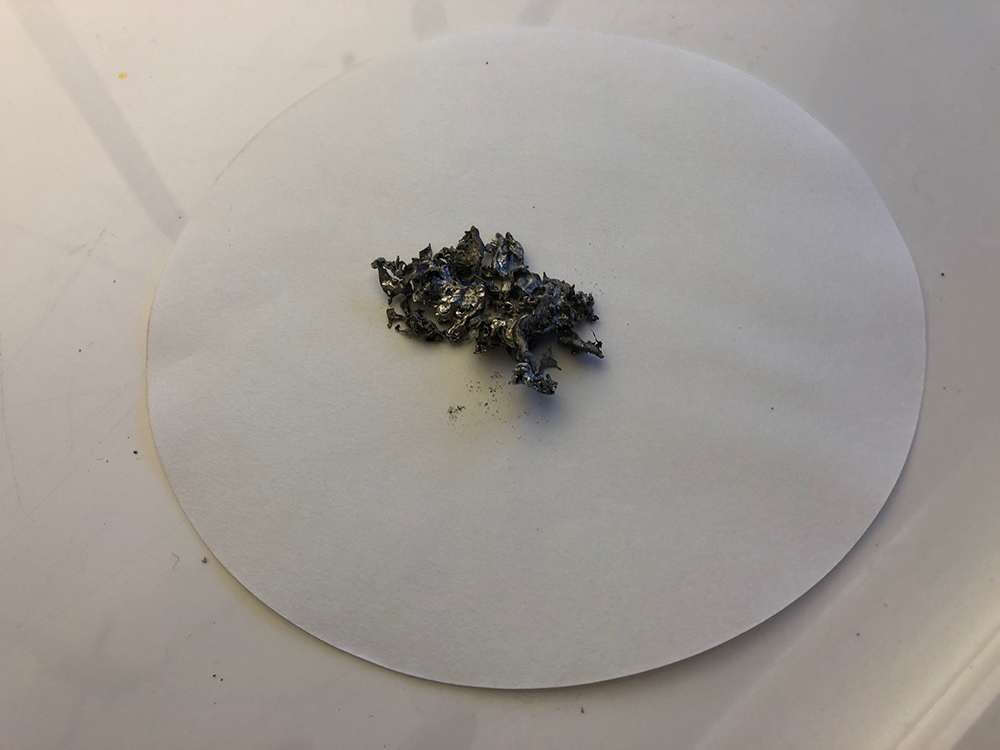
Leftover tin, dried on filter paper (step 13)
Caroline Evans
Determining the empirical formula
This experiment involves reacting two substances – tin and iodine – in their elemental form to produce the compound tin iodide. Tin has more than one possible oxidation state, so the reaction could produce either tin(II) iodide (SnI2) or tin(IV) iodide (SnI4). Using the experimental data, we can derive the empirical formula for the product, which will tell us the ratio between tin and iodine. From this, we can work out the identity of the tin compound produced.
- The first step is to work out the masses of the iodine and tin used in the reaction. The iodine is all used in the reaction (as it is the limiting reagent, while tin is in excess), so we can use the accurate mass of iodine weighed in step 1.
- To calculate the mass of tin used in the reaction, we need to subtract the mass of tin left over once the reaction has finished from the initial mass.
Tin used in the reaction = initial mass (step 2) minus the leftover mass (step 13)
- Now we need to convert masses into moles, to find the amount of tin and iodine atoms used in the reaction. To do this, we divide each mass value (from steps 14 and 15) by the relative atomic mass (Ar) of the element. The resulting answers will tell us the number of moles of each element used in the reaction (and thus in the final compound).
- To find the empirical formula of tin iodide, we need to find the number of moles of iodine used for one mole of tin. Here, we divide both answers in step 16 by the number of moles of tin used (as this will tell us how many moles of iodine combine with one mole of tin). You may need to round this ratio slightly to form simple whole numbers: for example, a ratio of tin to iodine of 1:3.6 can be rounded to 1:4.
- Finally, you can write the empirical formula: for example, a ratio of 1:4 means that the empirical formula is SnI4. What empirical formula did you find?
Discussion
This activity can produce good results if carried out carefully, with values that should quite closely round to 1:4 (as the ratio of tin to iodine). This leads to SnI4 as the empirical formula for tin iodide.
In general, values ranging between 1:3.2 and 1:3.8 are often obtained. As the common oxidation states for tin are +2 and +4, an experimental outcome giving a ratio close to 1:3 would not be in agreement. However, such values can open up a discussion about sources of experimental error and the importance of precision.
Sources of error in experimental measurements
After the experiment, ask all students to think about possible sources of error. What effect might each of the following have on the final results?
- Accuracy of the balance used
- Incomplete reaction of iodine
- Loss of iodine vapour from the condenser
- Poor washing of the residual tin
- Loss of tin while washing with propanone
- Incomplete drying of the tin before recording the mass
Table 1 summarises the effect of each of these sources of error in the experiment and on the final result – that is, how each changes the value of x in the empirical formula SnIx.
| Error | Effect on: mass of tin left over | Effect on: mass of tin reacted (initial mass minus leftover mass) | Effect on: value of x (in SnIx) |
|---|---|---|---|
| Incomplete reaction of iodine | Increases, as not all the tin reacts | Decreases | Increases |
| Loss of leftover tin while washing with propanone | Decreases | Increases | Decreases |
| Incomplete drying of leftover tin | Increases, by adding extra mass from the solvent | Decreases | Increases |
| Poor washing of leftover tin | Increases, as some tin iodide is included in the leftover tin mass | Decreases | Increases |
| Loss of iodine vapour from condenser | Increases, as not all the tin was able to react | Decreases | Increases |
Extension discussion: solubility and bonding
This experiment also offers an opportunity to discuss how bonding is linked to solubility. Iodine and tin iodide both dissolve in non-polar solvents (cyclohexane and propanone) but not in water, whereas tin is a metal and is insoluble in cyclohexane, propanone and water. Using this information, can your students draw conclusions about the likely bonding in these substances?
Acknowledgement
The author would like to thank Alan Carter, who was the Head of Chemistry at Wellington College (Berkshire, UK) until 2004, and who created the initial resource that inspired this article.
Resources
- Find out more about the oxidation states of tin at the Chemguide website.
- Learn about an alternative experiment for deducing an empirical formula, this time for copper(II) oxide, at the Royal Society of Chemistry website.
Review
This article describes a spectacular experiment to work out the empirical formula of a compound produced from its elements. This practical exercise gives students an opportunity to go beyond numerical exercises when working out chemical formulae.
The experiment is suitable for senior chemistry students studying analytical chemistry. It involves a wide range of experimental techniques and could be used as a starting point for discussing different sources of error in experimental measurements. It can also provide a basis for other key topics, including how bonding is linked to solubility.
All the materials required can be easily obtained and the instructions are easy to follow, making the activities suitable for students to perform in groups.
Mireia Güell Serra, chemistry and mathematics teacher, INS Cassà de la Selva school, Spain


